
I probably did about 10% of the work on these. My RV-9A friend did the vast majority for me whilst I contorted about through the airframe pushing around wires. Below is the final result.

Now, how to make that happen...
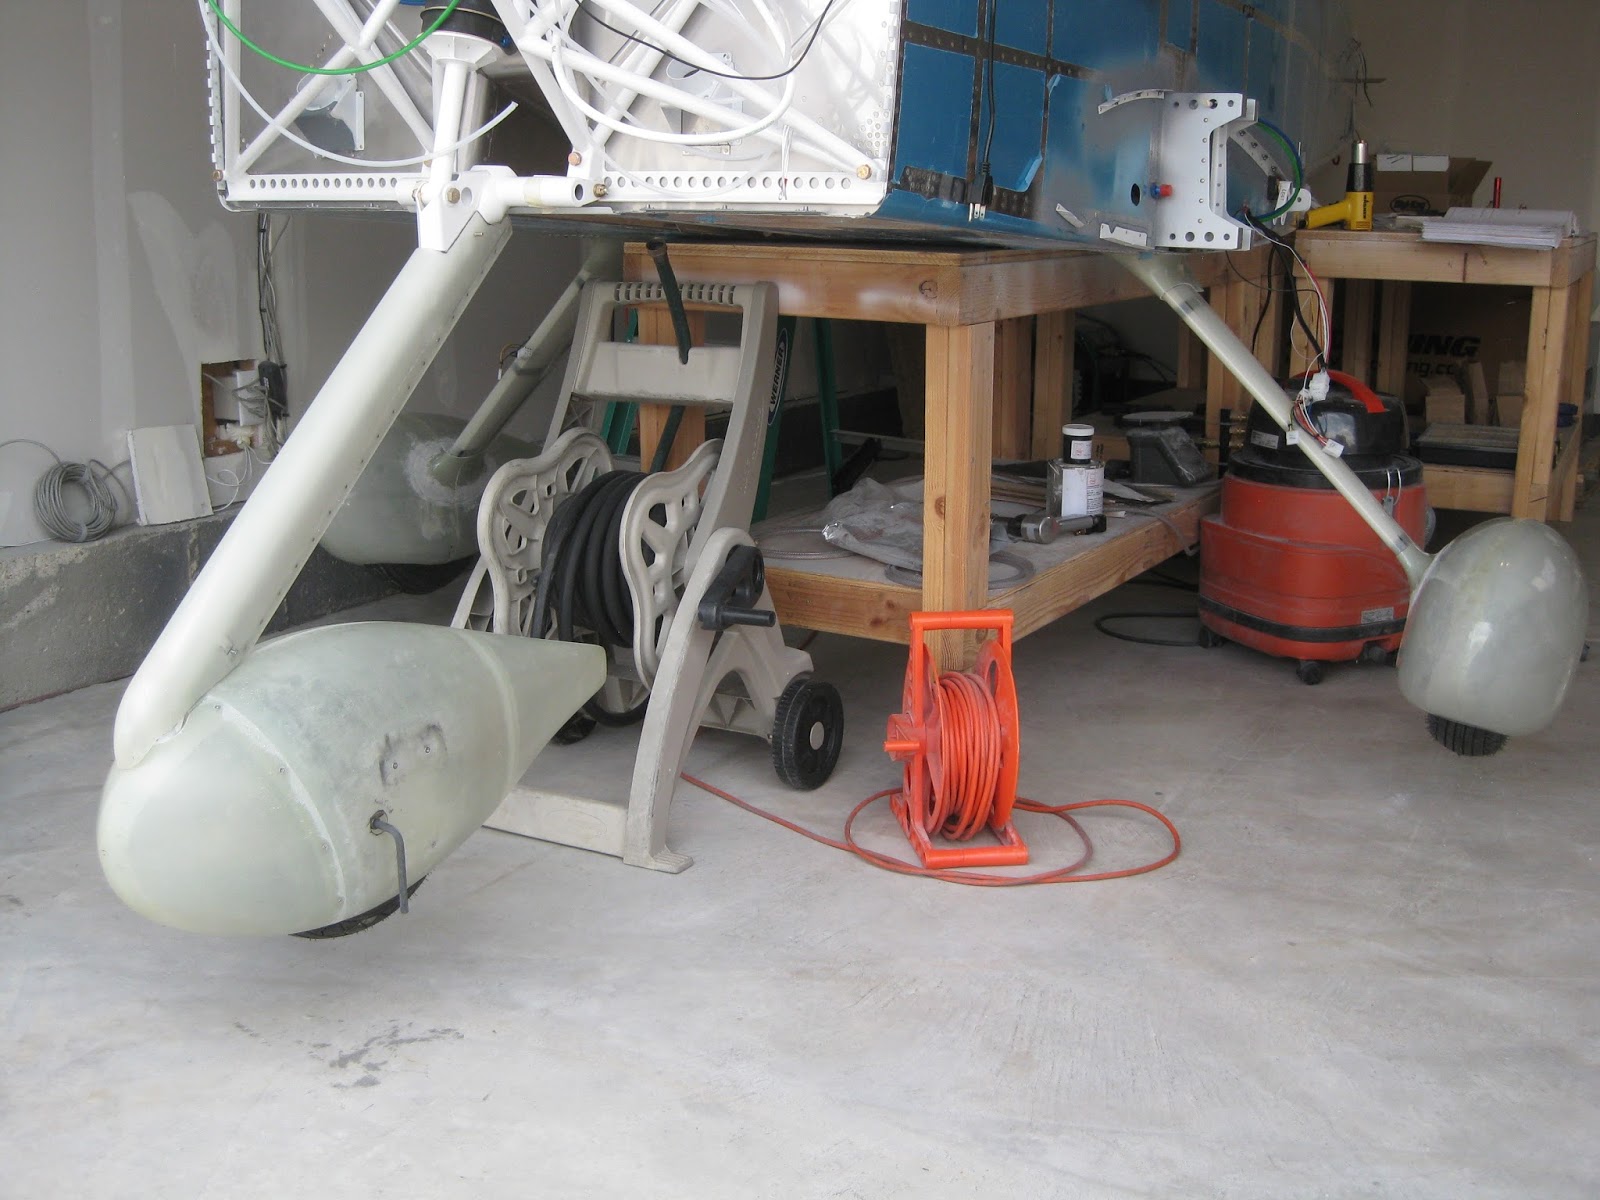
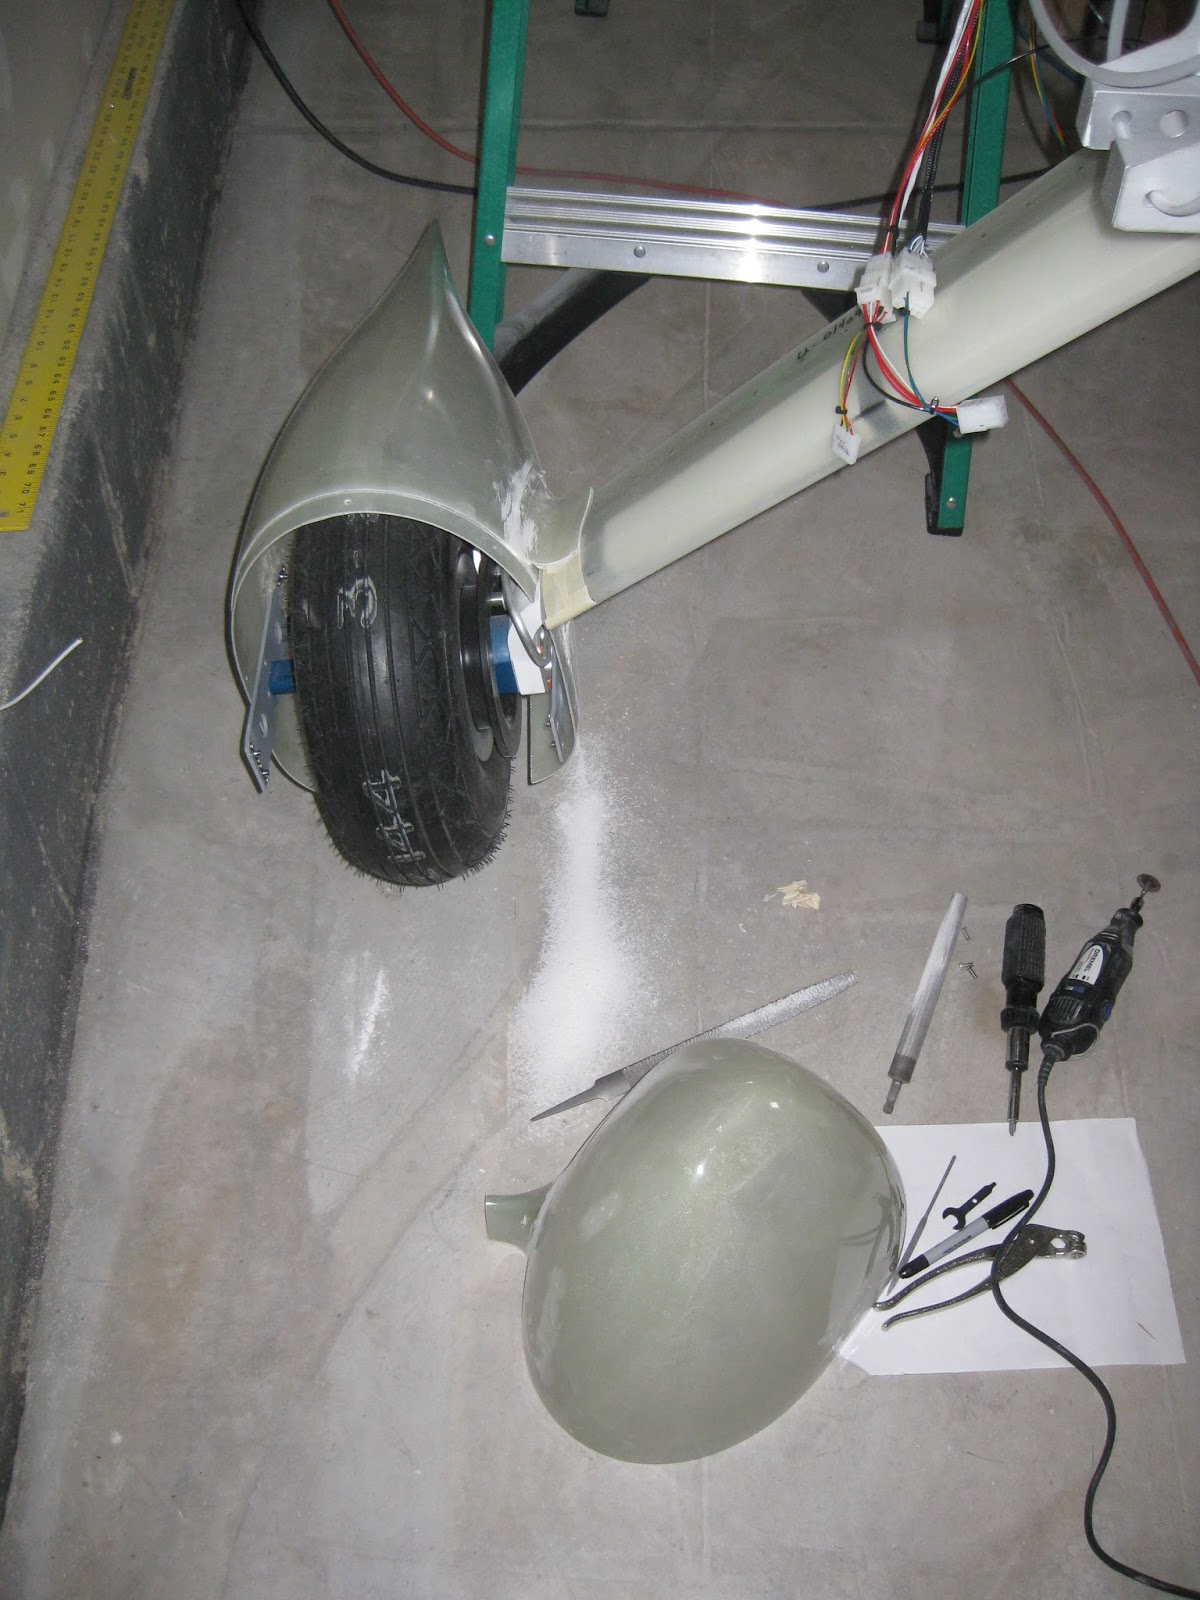
The gear leg fairings halves are fitted to each other, sanding and cutting where necessary to get them aligned and to accommodate the gear leg (right main wheel fairing on left, nose fairing on right).
Now, how to make that happen...
The gear leg fairings halves are fitted to each other, sanding and cutting where necessary to get them aligned and to accommodate the gear leg (right main wheel fairing on left, nose fairing on right).


I cut out the hole for the main gear leg.

Then I attached the U-00002 Wheel Fairing Brackets following match drilling into the fairings proper.

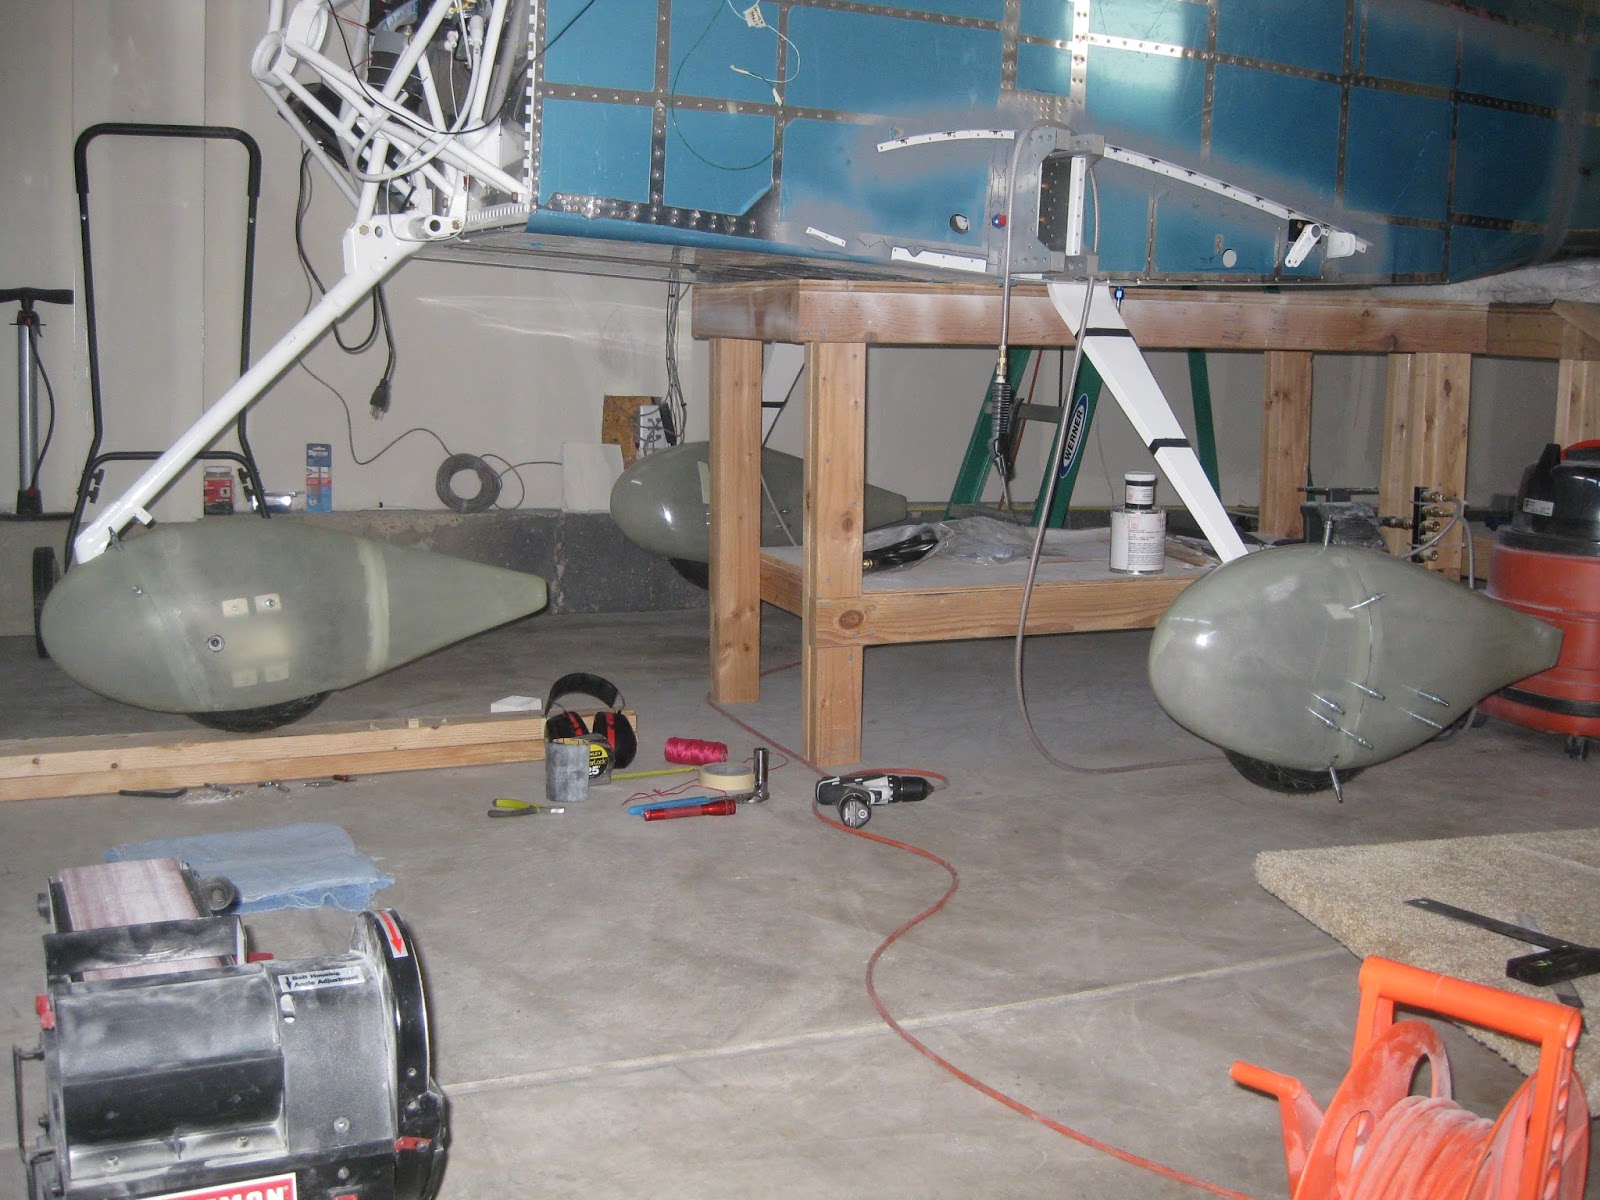
My friend went about further alignment and subsequent sanding, cutting and fitting.


Eventually the fit is acceptable.
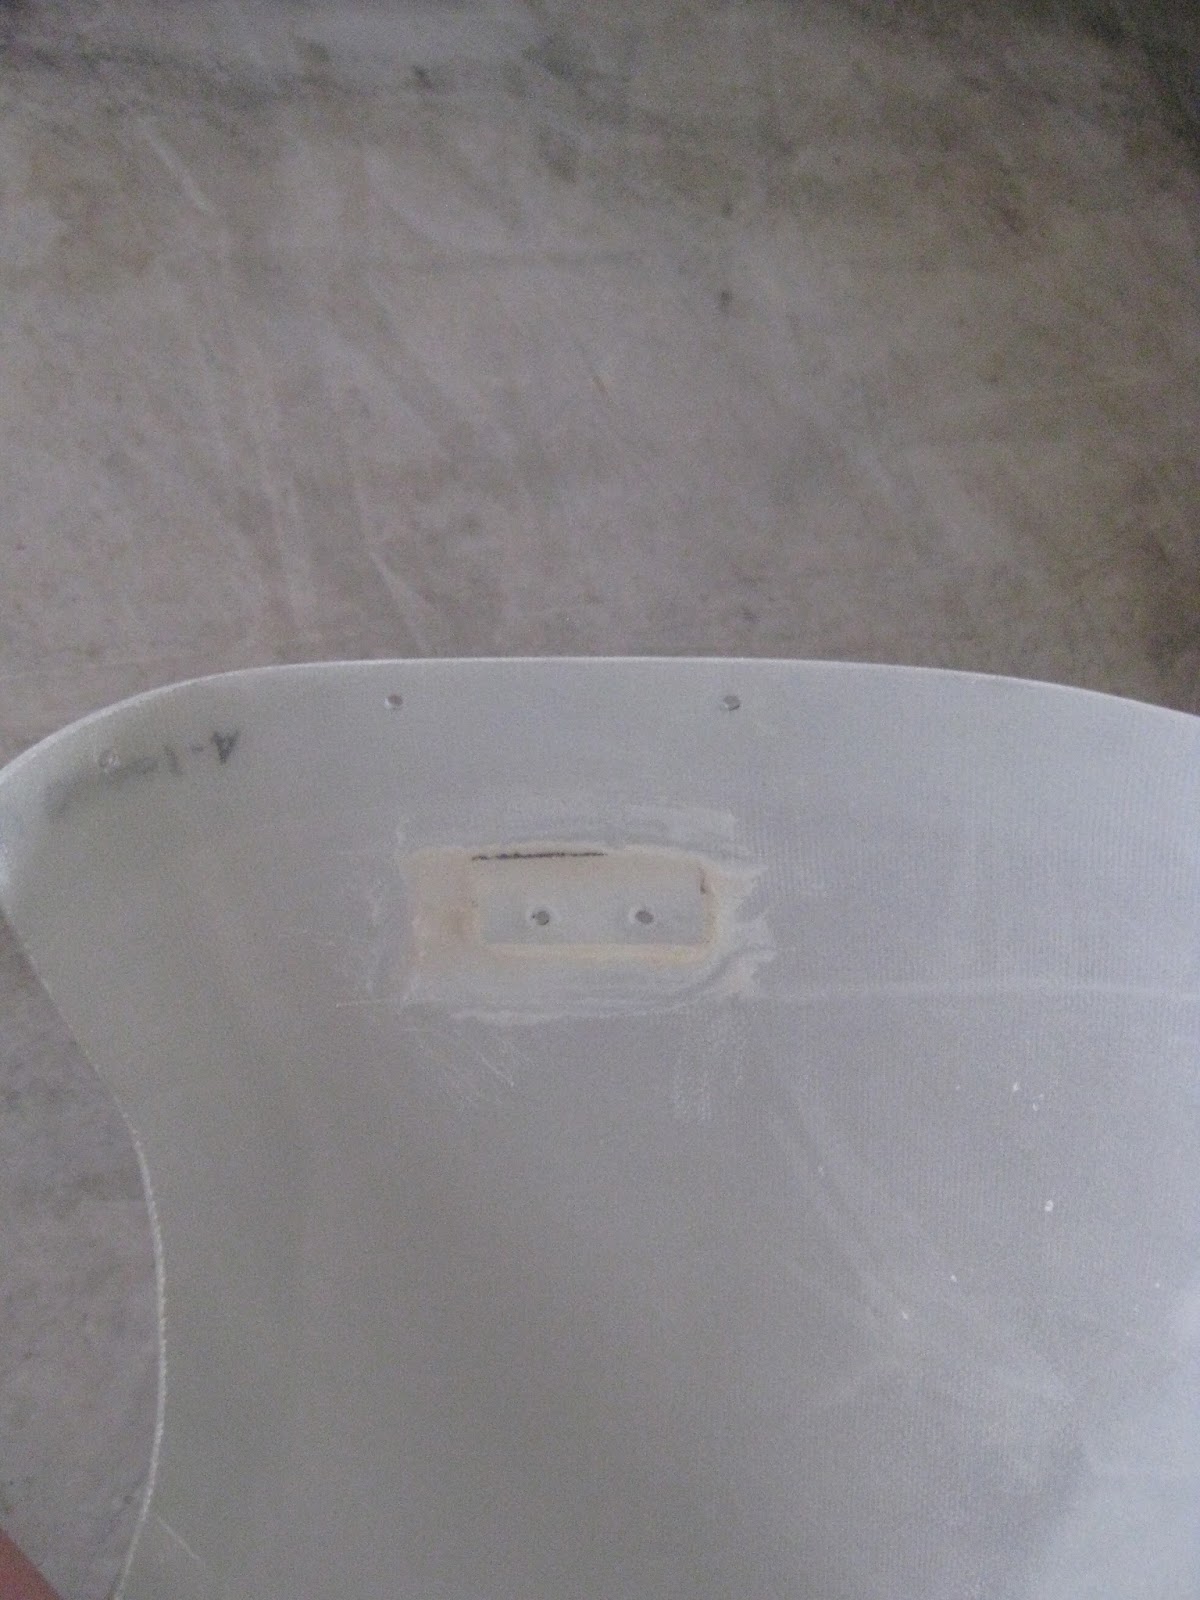
Next, the plans call for adding flox mixture around the Wheel Fairing Brackets to fill the space between the main gear fairing's curved surface and that of the flat surface around the brackets. It also provides for additional stability. Thankfully, no one will see this ugly mess but me.

Next come the gear leg and intersection fairings which my friend completed.
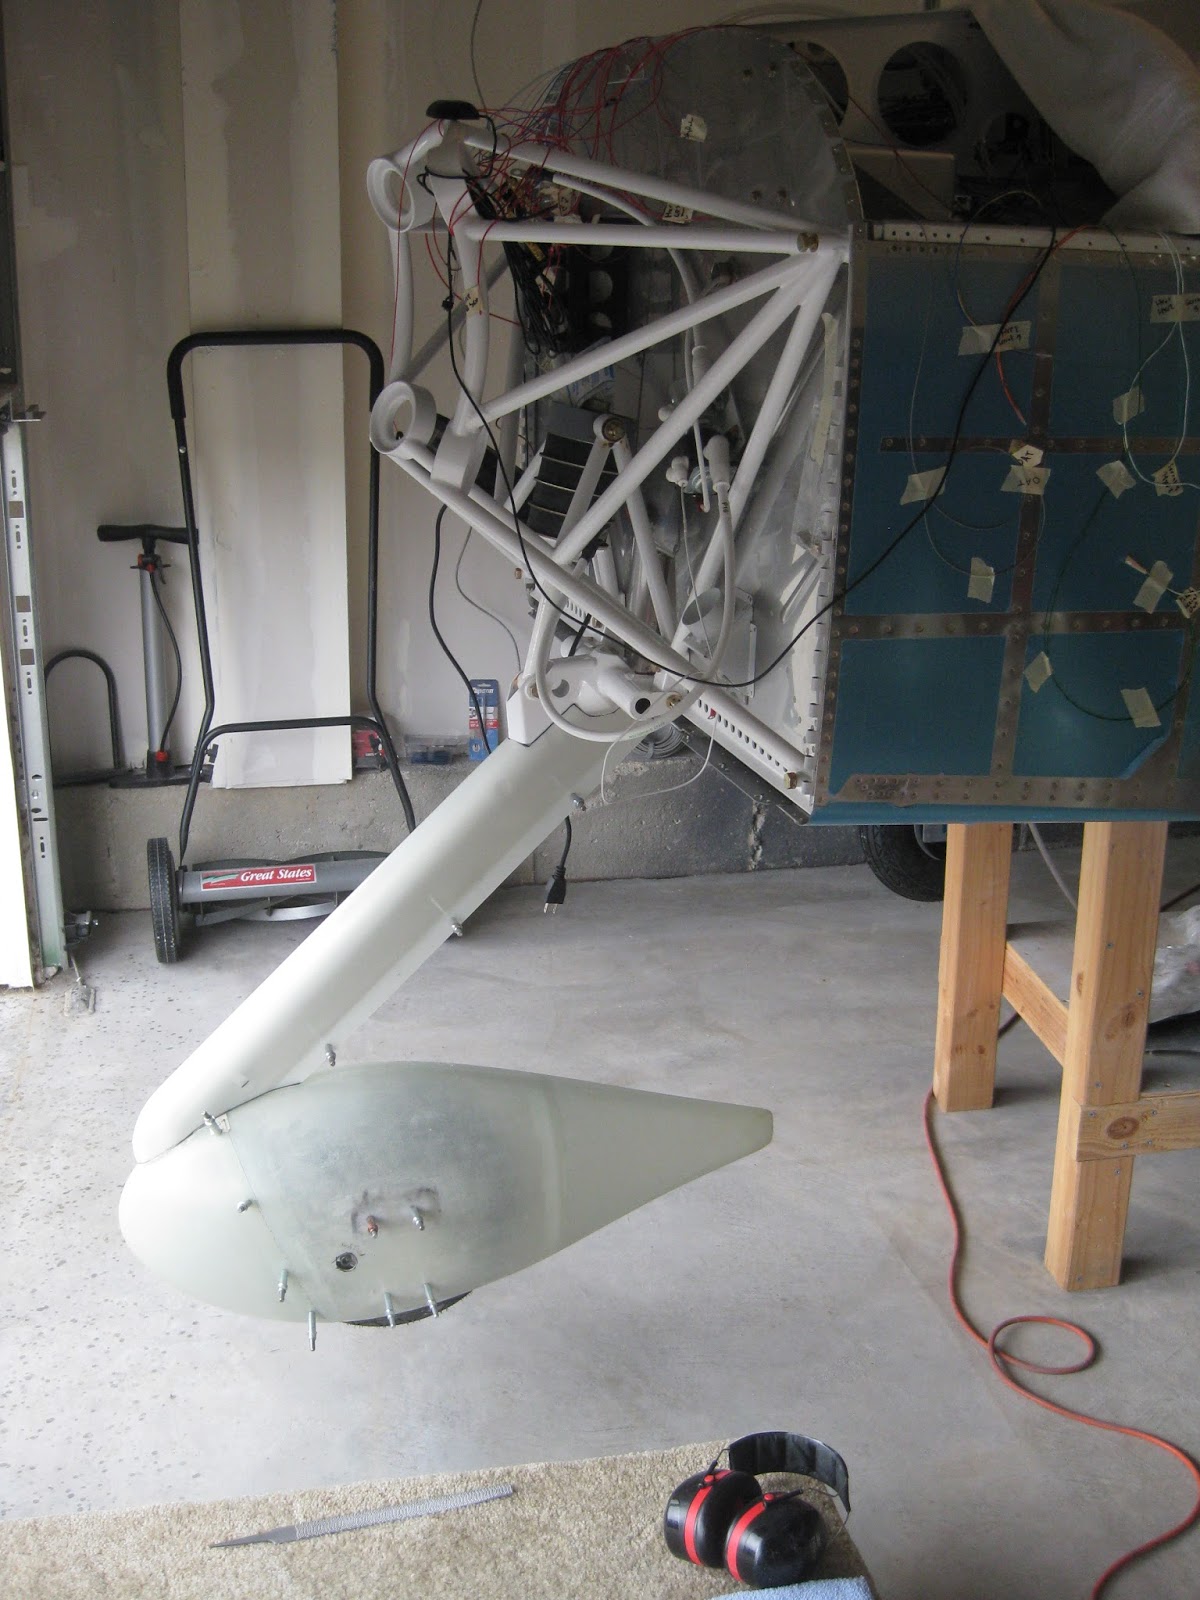

Apparently, other Van's models have the builder bond the U-01411-L/R Lower Intersection Fairing to the wheel fairing and then cut the intersection fairing so that the entire assembly comes on and off together. The plans do not instruct -14 builders to do the same. I liked the notion of fewer screws and parts to manage, so I chose to follow the previous models' approach. My friend did this work.
I cut the gear leg hole far too long on one of the gear fairings. It was simple enough to re-bond the part in place. You can also see how the intersection fairing was attached by my friend.

And finally, the fairings are nearly completed. The addition of some tinnerman washers and perhaps a little more sanding are in order.

Many thanks to my friend for busting through the vast majority of these fairings over about 1.5 weeks.
No comments:
Post a Comment