The wing tips require cutting and fitting to the wings. They come each as a single piece with a formed bevel to fit the top and bottom skins. The inboard side of the entire tip needs to be cut so the bevel has a 1/2" width to just almost rest against the rib (with the bottom side having a notch cut out to accommodate the aileron bracket). The trailing edge needs to be cut to give the aileron some space to move within. I used a 19 mm Perma-Grit rotary disc in my Dremel. Note: Don a respirator and eye protection, including long pants and long sleeve shirt. You're going to have a cloud of Fiberglas to swim in.
Rather than fussing over making a straight line to cut the bevel down to a 1/2" (a hard line to make given the curvature of the part), I grabbed some 1/2" wide electrical tape to use as a guide. The cut doesn't need to be perfect since it's tucked under the skin.
Here's the first cut. This needs to be followed with the file to clean it up and get rid of the notches (where I dived in and out with the rotary disc).
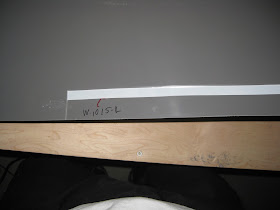
Then, after using the W-00026 Alignment Template to place the aileron in the neutral position, it was time to trim down the tip's trailing edge. I went conservative thinking I could always file it down if the gap was too tight. Here's the tape I used to mark off the first cut.
A reasonable fit...
...until you take a closer look: For one, the trailing edge is 1/4" too long (Update 10-Jul-16: They were eventually shortened). Also, the bevels don't line up with the trailing edges of the top and bottom skins, even when the tip is forcibly compressed with a ratchet strap.
I found one example of this lengthy trailing edge issue on an RV-7, however the builder made no mention of it in his description. Here's another example showing the trailing edge in an RV-9A just a bit too long as well. Here's a good article on wingtip fitting.


No comments:
Post a Comment