Turns out I had to step into the airplane to complete this section. And here is that momentous occasion recorded by the time lapse camera setup.

This section makes very liberal use of the LP4-3 rivet (Van's doesn't refer to these by their manufacturer part number - they are from Avex and that link includes a fun animation showing one being pulled). And I mean very liberal. To the tune of some 600 (see here for my list of the number of rivets used in each section of the plans). Be sure to use the wedge tool as outlined on page 5-06. This little gem avoids the curse of rivets showing pride when setting them in close quarters.

Since I've already acquired "riveter's elbow" (a.k.a., lateral epicondylitis or tennis elbow) from bucking the side skins solo, it's important that I reduce gripping items tightly, including rivet pullers. A friend of mine loaned me a pneumatic rivet puller. That thing is incredible! How did I ever get along without one? As a result, I picked up a cheap one from Harbor Freight. Whilst I'm generally not a fan of the quality of their products, enough reports on VAF convinced me that it would fit the bill. With Harbor's perpetual "20% off any single item" coupon, after tax it rang in just under $35. Score!

First the F-01447-L/R baggage floors are cleco'd in place (left). Then riveting commences (pictured is the loaner pull riveter, the Marson V-2).


Eventually you work your way through them all.


And everything gets done.


Now for some details...
The rivets attaching the F-01405G flap motor channel to the F-01405L bulkhead doubler are very tough to set because of the acute angle subtended by the two parts (relative to forward). I used my no hole 4" deep yoke to set these. The only way to make that work was by putting the shop head on the aft, visible side. Whilst not aesthetically ideal, it was the best practical means to set them and move on.

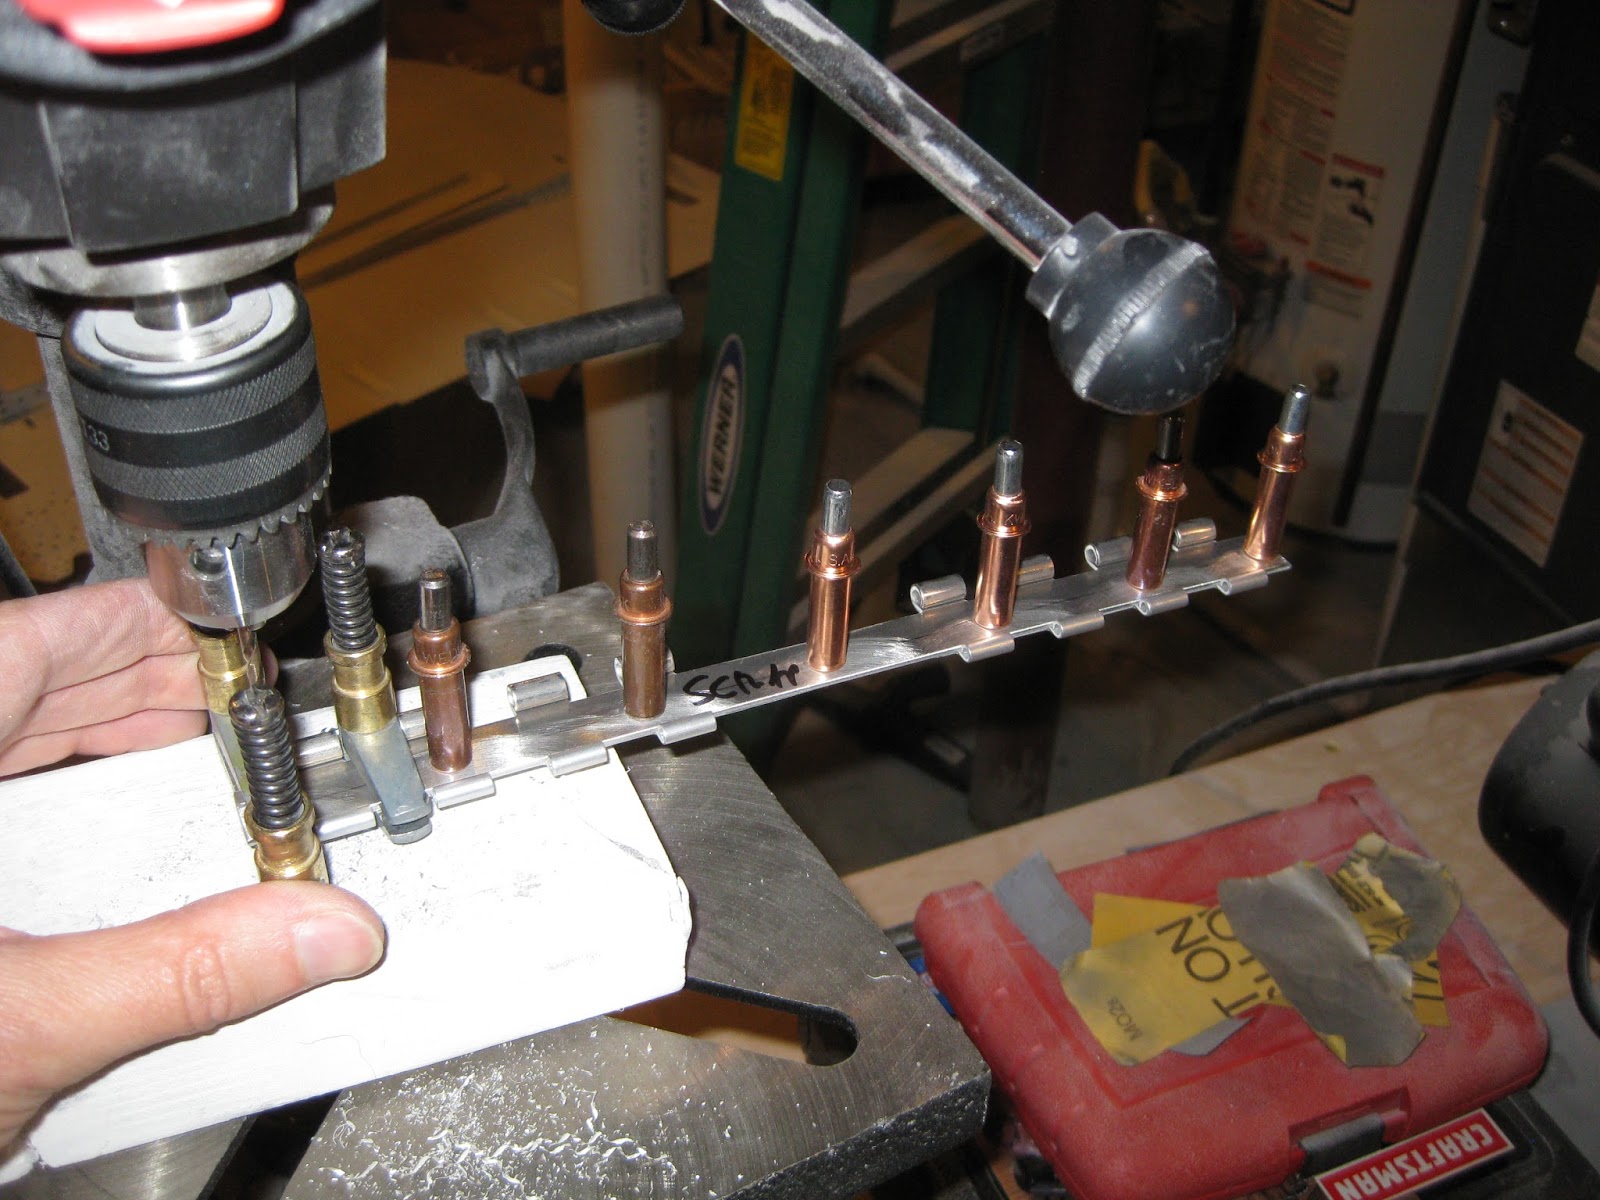
Cutting the UHMW bushings to the proper size was easy enough by taping the stencil to the part, after verifying scale, and going to town with the bandsaw and belt sander. These parts get bolted in but not with full torque. Only until the nut comes down on the part, otherwise the part gets compressed and distorted which will prevent the flap torque arm from later fitting in it. How do I know? A later post will explain.

Many of the rivets around the step attach access area are very difficult to buck (left). Use of my longeron yoke
managed to squeeze most. I then bought a $55 tungsten 12.5 oz bucking
bar from eBay (right). That managed to get all but one rivet on each
side. I don't have anything lying around that I can use to buck it. A
friend will loan me his "stubby" squeezer with a 1" yoke. I suspect
it's the same as this one from Avery. He said, using that tool, that he was able to avoid having to use the lone CCR-264SS-3-2 called out for on each side.


Note: If you're following my blog as part of your build, I humbly suggest you consult page 33-11 in the Rudder and Brake Systems section. There are a number of bushings that need to be inserted under the baggage floors, as well as routing the rudder cables, that would be so much easier with the baggage floors not yet installed.