Showing posts with label Priming. Show all posts

18 February 2015

Fuselage: Multiple sections. Priming.

Routine priming of some parts.  Nothing exciting.  Longerons, instrument panel parts, vent brackets and pushrods.


Primed.  As usual, I used my HVLP gun and two part epoxy primer.


17 January 2015

Fuselage: Multiple sections. Priming.

The weather finally turned, the air warmed and the snow melted.  This meant I could wash, etch and prime.  Parts spanning a multitude of sections were included in this bolus.


Primed.  As usual, I used my HVLP gun and two part epoxy primer.


Even this image doesn't show all of the primed parts awaiting rivets.

31 December 2014

Fuselage: Multiple sections. Priming.

The weather here has been brutally chilly with abundant snow, making the outdoors cleaning and etching process impractical.  So I was resigned to cruise far forward into the plans to prepare parts for later priming.  I had accumulated such a pile of aluminum that I decided to clean and etch the smaller parts in my kitchen sink after verifying the etchant does not discolor my sink and/or counter.

Everything laid out (the visible parts already primed needed a few touch-ups).


Primed.  As usual, I used my HVLP gun and two part epoxy primer.


Wow.  I believe I have quite the collection of primed parts.  This is directly a consequence of my running out of space in this tiny ~1,200 square foot house with a ~600 square foot basement, as I feverishly jump ahead in the plans getting as much as I can ready for later assembly.


My wings are in my living room, empennage on the couch, horizontal stabilizer in the kitchen, scrapped horiz stab and fuel tanks in the detached garage, and vertical stab and rudder are in the guestroom.  And there is still a pile of prepped aluminum in the hallway ready for priming.  If all goes according to plan, I'll have a real garage to continue building in March.  For now, I'm fairly limited in how much further I can go.  Definitely not the fuselage side structure.

20 December 2014

Fuselage: Forward mid and lower structures. Priming.

As usual, priming is an unremarkable affair.  Used my HVLP gun and two part epoxy primer.


First the forward lower skins.


Then everything else.


The astute might notice the F-01421A and B aft fuselage bulkhead pieces.  I'm going to try to replace the ones I currently have due to what happened here.

29 November 2014

Fuselage: Firewall. Priming.

Nothing exciting here.  Firewall parts were primed.  Had a few touch-ups of mid lower structure parts too.

Setting up HVLP gun.


Finished.


22 November 2014

Fuselage: Mid Fuselage Lower Structure. Priming.

The mid fuselage lower structure parts have been primed.

First the center bottom skin.


Then the rest of the myriad of parts.


The seat ribs and a few other small parts from this section were actually primed in the previous bolus.

Now I have quite the collection of, drilled, deburred, dimpled and countersunk parts all ready for riveting.


18 November 2014

Fuselage: Forward Mid Fuselage Bulkheads. Priming.

Nothing more exciting than priming parts.  But, I hadn't primed anything since 30-Jun-14.  So, my two part epoxy primer had been sitting, untouched and sealed in their cans for nearly 5 months.  Wow, the contents of the Part A can turned to pure sludge.  All the solids settled.  I had to don gloves and get my hands in there to break it up before I could even attempt to mix it (I'm not that only one to experience this).  Took a good 30 minutes before having something that was reasonably mixed.  After finishing this priming session, there were about 13 fluid ounces of final product remaining, so I chose to toss it in favor of using the additional amount I ordered last week to finish the fuselage. 

Beginning.


End.


I sneaked in the seat ribs and some a few other small parts from the next section.

30 June 2014

Wings: Fuel tanks redo. Primed their exteriors.

Because I'm redoing my fuel tanks, I'm really only posting progress reports rather than additional details.  See here for why I'm redoing my tanks.  Technique details on the original fuel tanks are found in their associated posts.
Why not prime the exteriors of the tanks once verified as non-leaking?  And who cares if the primer makes a mess because the spray volume wasn't properly adjusted?


19 January 2014

Empennage: Aft fuselage. Final priming.

The final parts for the aft fuselage have been primed.  Including those I decided to replace

Top side skins.


Top skin and remaining parts.


Now all that remains is some time dedicatd to riveting and the empennage will be completely riveted.  I don't have enough space in my current digs to complete the attachment of the control surfaces and the Fiberglas fairings.  Once this point is reached, the build stalls until new space is acquired.

12 January 2014

Empennage: Aft fuselage. Priming.

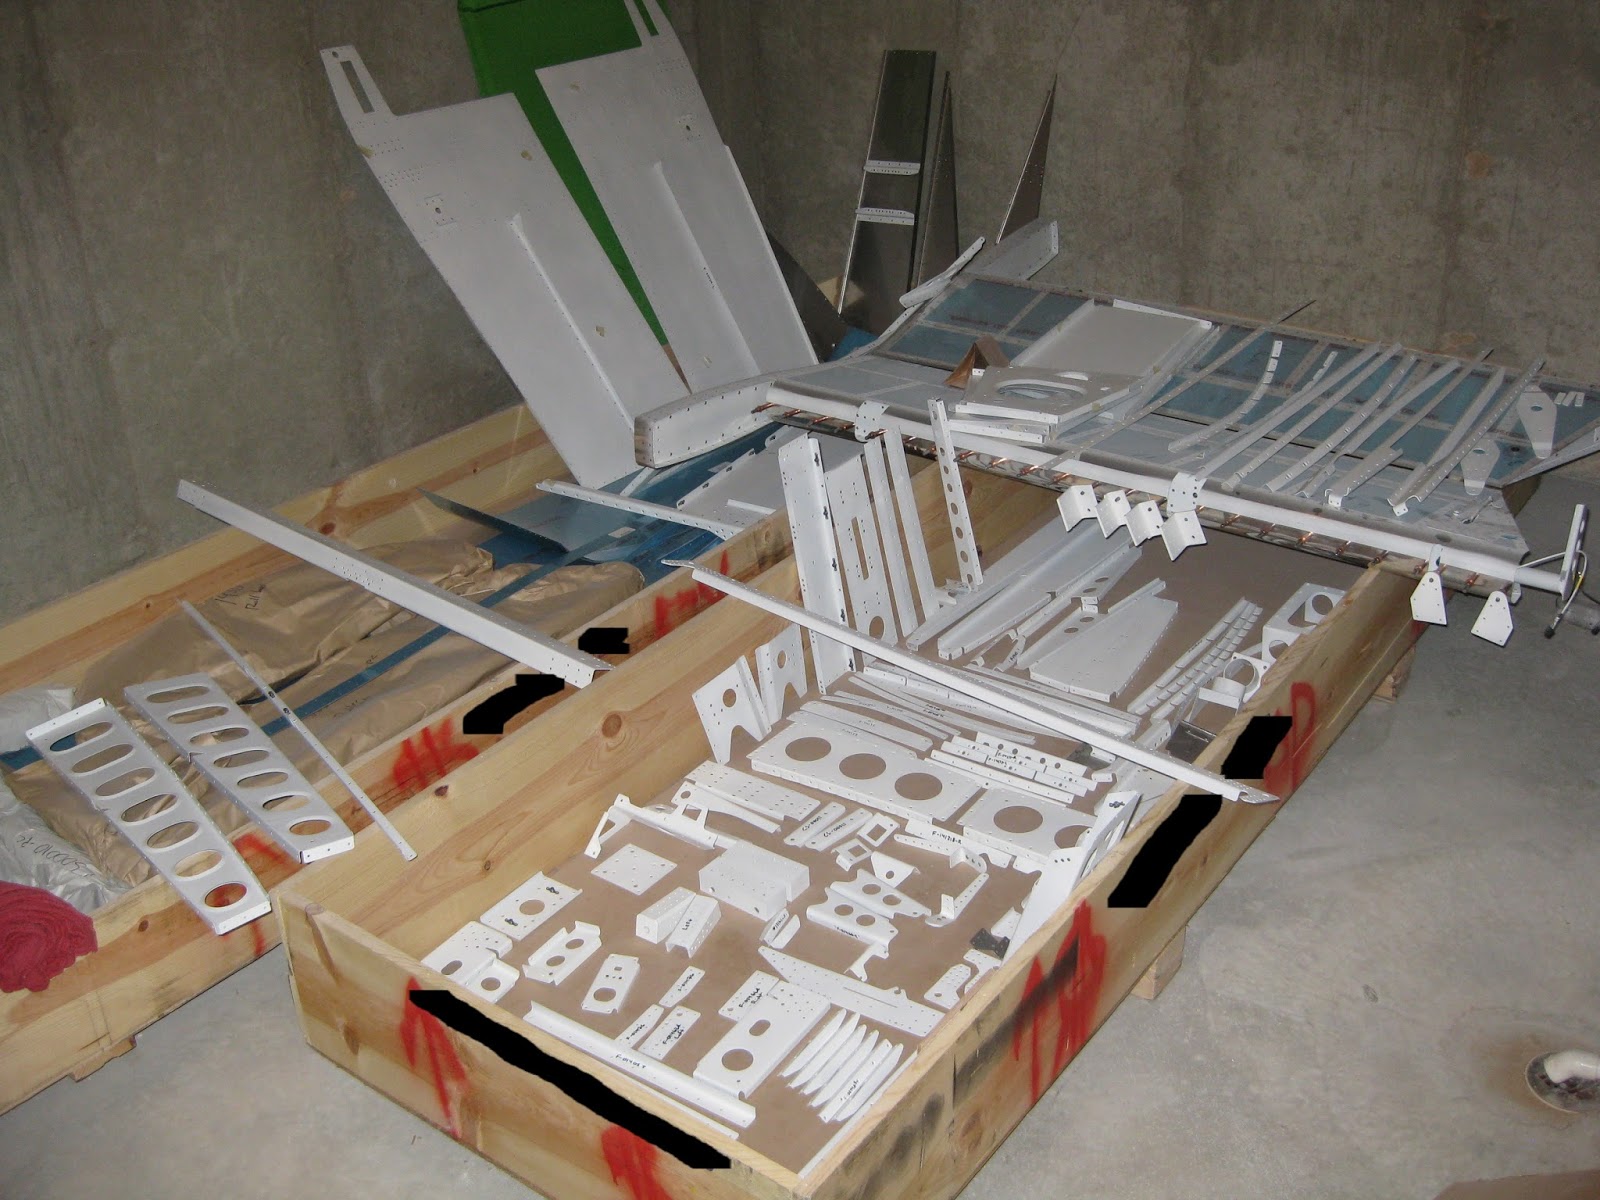
Nothing exciting other than priming a whole lotta parts.  For the first time, given the many parts, I used the dimpling table which is usually just out of the time lapse camera's range in the far field.  That table is shown in the bottom row, right side.


As an aside, I tried taking some pictures immediately after priming.  When the flash was engaged, the images came out foggy.  On cleaning the lens, they were still foggy.  I quickly realized it was due to the primer that precipitated out and became airborne.  I hadn't realized that this happened.  This is why I wear a respirator.  Left image, no flash.  Right, with flash.


The next day, I took a picture of all the parts that are primed and ready to go.  First we have what's in the basement...


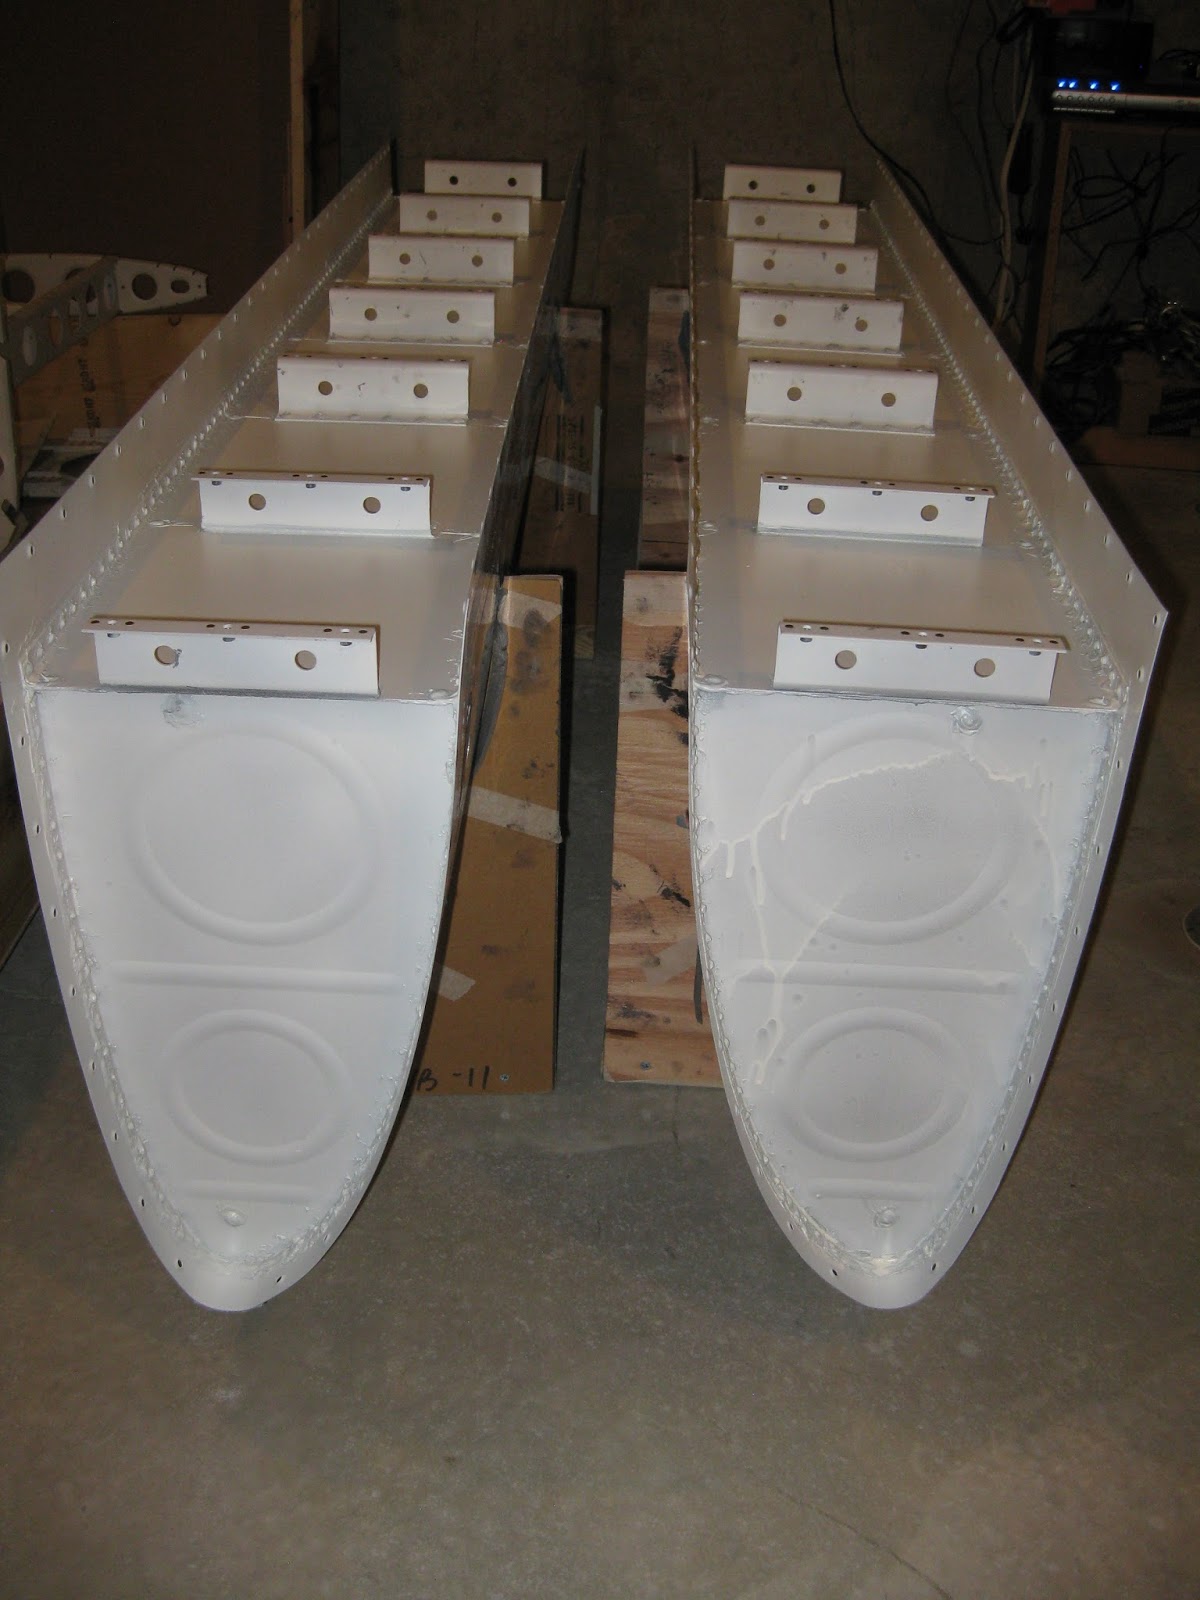
...then for completeness, what we already have in the guest room.


I don't live in a house any longer.  It seems I'm living in a hangar that has no runway access.

31 December 2013

Empennage: Elevators. Right elevator parts primed.

With the weather turning to snow tomorrow and the realization that I misaligned the piano hinge on the trim tab during match drilling, it wasn't reasonable to get the left elevator ready for priming today (I do the cleaning and etching outside).  Turns out that was a good decision anyway since there were so many parts between the two elevator halves, that priming each separately is more manageable.  So after a whole lot of deburring and dimpling, it was off to priming.

First the skins.  Yes, those are all of the right elevator parts sans the trailing edge, 2 hinge reinforcement places, fairing, foam ribs and horns!


Then everybody else.


I actually have not yet put an edge break into the skin trailing edges nor have I dimpled them yet.  I need to get an "economy" dimple die set set so I can modify it to avoid overlapping the bend in the skins, as called out for in the plans.  As an aside, edge breaks on trailing edges are very important..

27 December 2013

Empennage: Priming. Rudder and horizontal stabilizer.

I decided to redo my rudder due to the trailing edge.  Here is the post outlining the new rudder.

Nothing exciting here.  Just routine priming with Stewart Systems.  Got the remaining rudder parts and skins completed.  As well as the rear horizontal spar, caps, doubler and skins. 


Still need to flute, drill, etc. then prep and prime the horizontal spar ribs.  I will group those in with some priming of elevator parts.

24 December 2013

Empennage: Rudder, vertical and horizontal stabilizers priming.

I decided to redo my rudder due to the trailing edge.  Here is the post outlining the new rudder.

When priming for the empennage, being a smaller portion of the aircraft as opposed to the wings, it makes sense to try to aggregate many parts together.  This helps minimize the amount of time spent cleaning, etching, spraying primer and on the wait for curing.  Thus, I jumped ahead to get many of the rudder and horizontal stabilizer match drilled, countersunk, etc. so they can be primed in the same batch as the vertical stabilizer parts.


Primed:  All vertical stabilizer parts.  Front horizontal spar, doubler and stringers.  Rudder ribs and spar.

I use Stewart Systems for priming.  Being water-based, it's far less toxic to use though I still wear my respirator.  The vast majority of aerosol doesn't get airborne.  It just falls and collects as dust.  Do not, however, use water-based primers for steel.

16 November 2013

Wings: Aileron actuation. Priming and flash rust.

Learned a new term on this round:  "Flash rust".  The aileron pushrods and torque tubes are composed of steel.  Most of it is powder coated from the factory, however the tubes' interiors are not.  So they must be primed.  I dutifully used my Stuart System's primer.  The next morning, I went to check how it was drying and found this (view looking inside one of the tubes):


And this:


In fact, every piece rusted where the primer was applied.  Turns out, this is called "flash rust" and is due to the water-based nature of the primer, even though the primer is specified for steel.  As soon as I saw this, I knew I was in for a good solid several hours of work as part of a remedial effort.   How to do that?  A bag of steel wool and a 12 gauge rod of steel clamped down in the vice was mostly the ticket.  I stuffed the steel wool very tightly into the tubes, then worked it back-and-forth until most of the primer and rust were out.  Then I used the rat-tail file, added some acetone with the steel wool once more and finally used a flap wheel on the drill to effectively sand the insides down. 


Eventually, I worked all the primer and rust out after some 5+ hours.  I reprimed with Napa 7220.  Not a water-based primer.  No flash rusting occurred.

So, that was fun.

13 October 2013

Wings: Ailerons. Prime time.

Uneventful post.  Aileron parts primed.  EkoPoxy/EkoPrime as usual.

Pre-prime.  Cleaned and acid etched.


Post-prime.


Probably will hit at least the spars again since the plans call for them to be worked on more prior to final riveting.

14 September 2013

Wings: Flaps. Parts primed.

Nothing too exciting today.  Just primed up the flap constituents and some other extraneous parts (e.g., replacements and modifications).


General update:  Right fuel tank continues to cure after baffle install.  Waiting on a screw for the capacitive plate on the left tank (original got stripped) prior to its baffle install.  Still need to machine countersink the AEX wedges for the flaps.  I did get some of the connectors I need to finish up the wiring for the heated AOA/pitot.

And today is the 400 hours mark.

15 August 2013

Wings: Bottom skins. Prepping skins and priming gap fairings.

The bottom skins are in the works as I wait out tank completion and figure the logistics for moving the wings as-are out of the basement.  I can't let the wings get bigger lest they need to be removed by lifting the carpet and floorboard from between two joists to push the wings out.  Right now they will fit through the egress window, which is the best option (indeed on 18-Aug-13, that's how it was done).

First I cut the vinyl from the rivet lines, then match drilled the inboard rib to the nutplate holes for each wing.  This was the first time I've used the clecos all gunked up with sealant.  I'm not a fan.  I'll be looking at cleaning them...somehow.


In looking at the plans, I can put on the flap and aileron gap fairings (Section 20) prior to systems wiring (Section 19).  This lets me get ahead as I wait out attaching the tanks and leading edges.  So, I've primed the farings plus the ADHARS mount and J-stiffeners.  Here are those parts lined up for priming after cleaning and etching with Stuart System's EkoClean and EkoEtch.  The tanks are front-and-center awaiting more work.


Here are the parts all primed with EkoPoxy/EkoPrime.  You can see an outboard bottom skin with the rivet lines exposed in the foreground plus the tank rear baffle and attach zees in the background.