Showing posts with label Interior. Show all posts

05 April 2024

Interior: Added footwell light.

Back in 2022, when I modified my engine to the -C3B6/-EXP119 version, I added a wire with a fuse directly from the battery to behind the firewall.  I wanted to use that wire in the future to add some internal lighting for nighttime when on the ground and before startup.  The future ended up being today.

I snagged a Buyers Products 5623755 LED strip and adhered it under the panel to illuminate the footwell.  Then I added a small SPST toggle switch on the right side of the panel.  Though I wanted the switch on the left side, it was easier to place it on the right given the available real estate on the panel and the location of the wire.

To be sure, the original bi-color LED light strip under the glare shield is more than sufficient for nighttime flying (using the red lights on the PWM dimmer during flight and the white lights on the ground).  However, this new footwell light lets me see things before turning on the master.  Eventually, I'd like to put a light near the canopy handle that can also be turned on with the master off.

Here's what it looks like when it's on and it's pitch black outside.  It functions as I desired.


16 March 2024

Avionics: Added SiriusXM.

In preparation for the flight out to view the eclipse next month, I added SiriusXM to the plane.  I found an inexpensive used SiriusXM SXWB1 Tour on eBay and installed it where F-01439 Seat Ramp Cover and F-01452 Aft Tunner Cover meet.  Here it is installed, powered with an external power supply for testing.  It covers up my light gun cheater card a bit.

I didn't want to cut anything in the plane or have a permanent install.  But I wanted it installed stoutly and be easily removable if I later decide I didn't want it anymore.  So, I made a removable mount out of scrap 0.09" T-2024 stock as shown below.  The center four holes constitute two pairs of holes for attaching the radio's dock in one of two different positions.  Those holes are countersunk on the backside (not shown) so the screws into the dock are flush.  The outer two holes attach where the two cover plates called above meet (with slightly longer screws to carry them through the additional 1/8" thickness).   Those screws are accessible when the radio is not placed in the dock.  I painted the mount to match the interior.


The radio has a Bluetooth transmitter, but the GMA-245 can only connect to one Bluetooth source and I prefer the intercom connected to my phone.  So I sourced a short cable to connect the radio to the "Music 2" input between the seats.  It is also powered by the USB socket located in the same space.

The antenna is velcro'd on the F-01405F Mid Fuse Brace.  Reception is solid.

21 July 2020

Interior: Side panels.

Originally I didn't want side panels because I didn't want to cart around the extra weight.  But a few months ago I was in a friend's RV-7A with side panels which changed my mind.  Plus, I believe the best way to reduce the weight of a plane is to reduce the weight of its pilot!

Here are the seats and armrests I have installed in my airplane.  They were received on 27-Jan-16 and placed in the plane for the first time on 22-Mar-17.  They are from Flightline Interiors and are quite comfortable. 


Flightlines' design option for the side panels are shown below.


I requested this panel and coloring.  I wanted the pieces in the middle to be red to match the red motif elsewhere.  The panels would have no trouble accommodating my headset hangers.


Here are my new side panels in place. As packed, the box they shipped in weighed 6 pounds and I neglected to weigh the pieces before putting them in the plane.


I also had Flightlines make a cover for my poor-man's seat warmers.


As an aside, I actually have pictures of the interior with all gray pieces since Flightlines made an error originally.  Here's what that looked like.  I prefer the red pieces shown above, of course.  Note, the pieces by the arm rests were too tall on this set, so the arm rest stuck out.  The shortened pieces shown above accommodate the arm rests properly.


06 November 2019

Interior: Poor man's seat warmers

It's winter time.  It's cold.  And so are my buns.  So, I snagged some "cheap" heated seat pads that plug in to a USB port.


Of course, that won't work in an airplane with narrow seats and a crotch strap.  So I removed the heating pads and placed them on my plane's seat.  I only need them on for a few minutes, then I'm good to go.  I will probably make a fabric pocket to place them in.  The pads plug in to my console USB socket.

Update 21-Jul-20:  When I got my interior rounded out, I had little covers made for these heating elements.


01 June 2017

Interior: Headset hangers fabricated and installed.

Lots of folks install headset hangers in the plane.  I've seen them placed at the apex of the roll over structure and below the panel at knee-level.  I like the latter in favor of avoiding the sun.  One aspect that was important to me was to ensure that the hanger's shape conforms to that of the headset.  My thinking was that it would help preserve the headset's padding.  

So here's what I came up with.  The bracket is 0.035" aluminum.  The curved piece is the really soft 1/8" piano hinge bent to conform to a headset.  Of course it's painted red to match my interior accenting.  All rivets were LP4-3s.


Left and right hangers in place. I riveted them to the flange of the F-01402-L/R Side Frame pieces because I didn't want to risk compromising the strength of the F-01413-L/R stiffeners.  Plus, using the vertical stiffener rather than the horizontal lets me perch the hangers higher.


Headset in its home.


29 April 2017

Interior. Seatbelt/Harness fitting fun.

My safety harnesses, obtained in September 2015 and installed in March of 2017, came with end fittings.  They are all  3/16" thick with 1/2" diameter bolt holes and 1.875" wide strap slots.  That thickness is appropriate for the shoulder harnesses, however it is too thick for the lap belts, the latter of which needs to be 1/8".

Additionally, the 1/2" diameter bolts holes are too large for the AN4 bolts (which are 1/4") called out for on page 42-06.  So I had my friend fabricate for me bushings with dimensions:  0.252" ID, 0.5" OD and 0.202" L.  The bushing were pressed into the end fittings (left) and attached to the F-01406E Shoulder Harness Lugs using the AN4-6A bolts and associated hardware (right).


Here are the shoulder strap end fittings in place.


The end fittings are too long to work for the crotch strap (it places the strap above the rectangular cutouts in the F-14110AB Crotch Strap Brackets, shown two images below).  So I tried drilling a hole to make it sit lower.


However, the end fitting is just too thick and creates too much space between the two Crotch Strap Brackets.


I purchased end fittings from Aircraft Spruce for the crotch straps which have 7/16" bolt holes, 2" wide slots for the strap and were 0.091" thick.  My friend made bushings for me with dimensions 0.315" ID, 0.4375" ID and 0.202" L, to fit the AN5 bolts called for on page 42-02 which have a 5/16" (0.3125") diameter .


With the crotch strap folded over on itself, it's unreasonable to use all four screws on the Crotch Strap Brackets as the thickness is too great and the brackets have an excessive clamping force on the strap, preventing length adjustment.  I deemed this acceptable and moved on.


For the lap belts, Crow provided replacement end fittings, which were not black anodized.  They had slightly narrow 1.5" wide slots for the strap and were 1/8" thick with 1/4" bolt holes.  Because this 1/8" thickness is precisely what the F-01480 Seat Belt Attach Lugs are designed for, the end fittings will not freely rotate about the bolt (the end fittings should be 0.091" thick with a 1/8" bushing).  That's okay.  I adjusted the angle of the end fittings to align close to what it would normally be when the occupants are strapped in.

16 April 2017

Interior: Koger sunshade installed.

Installed the Koger Sunshade (model TU-WIDE).  It really blocks out the non-existent sun in my garage!  

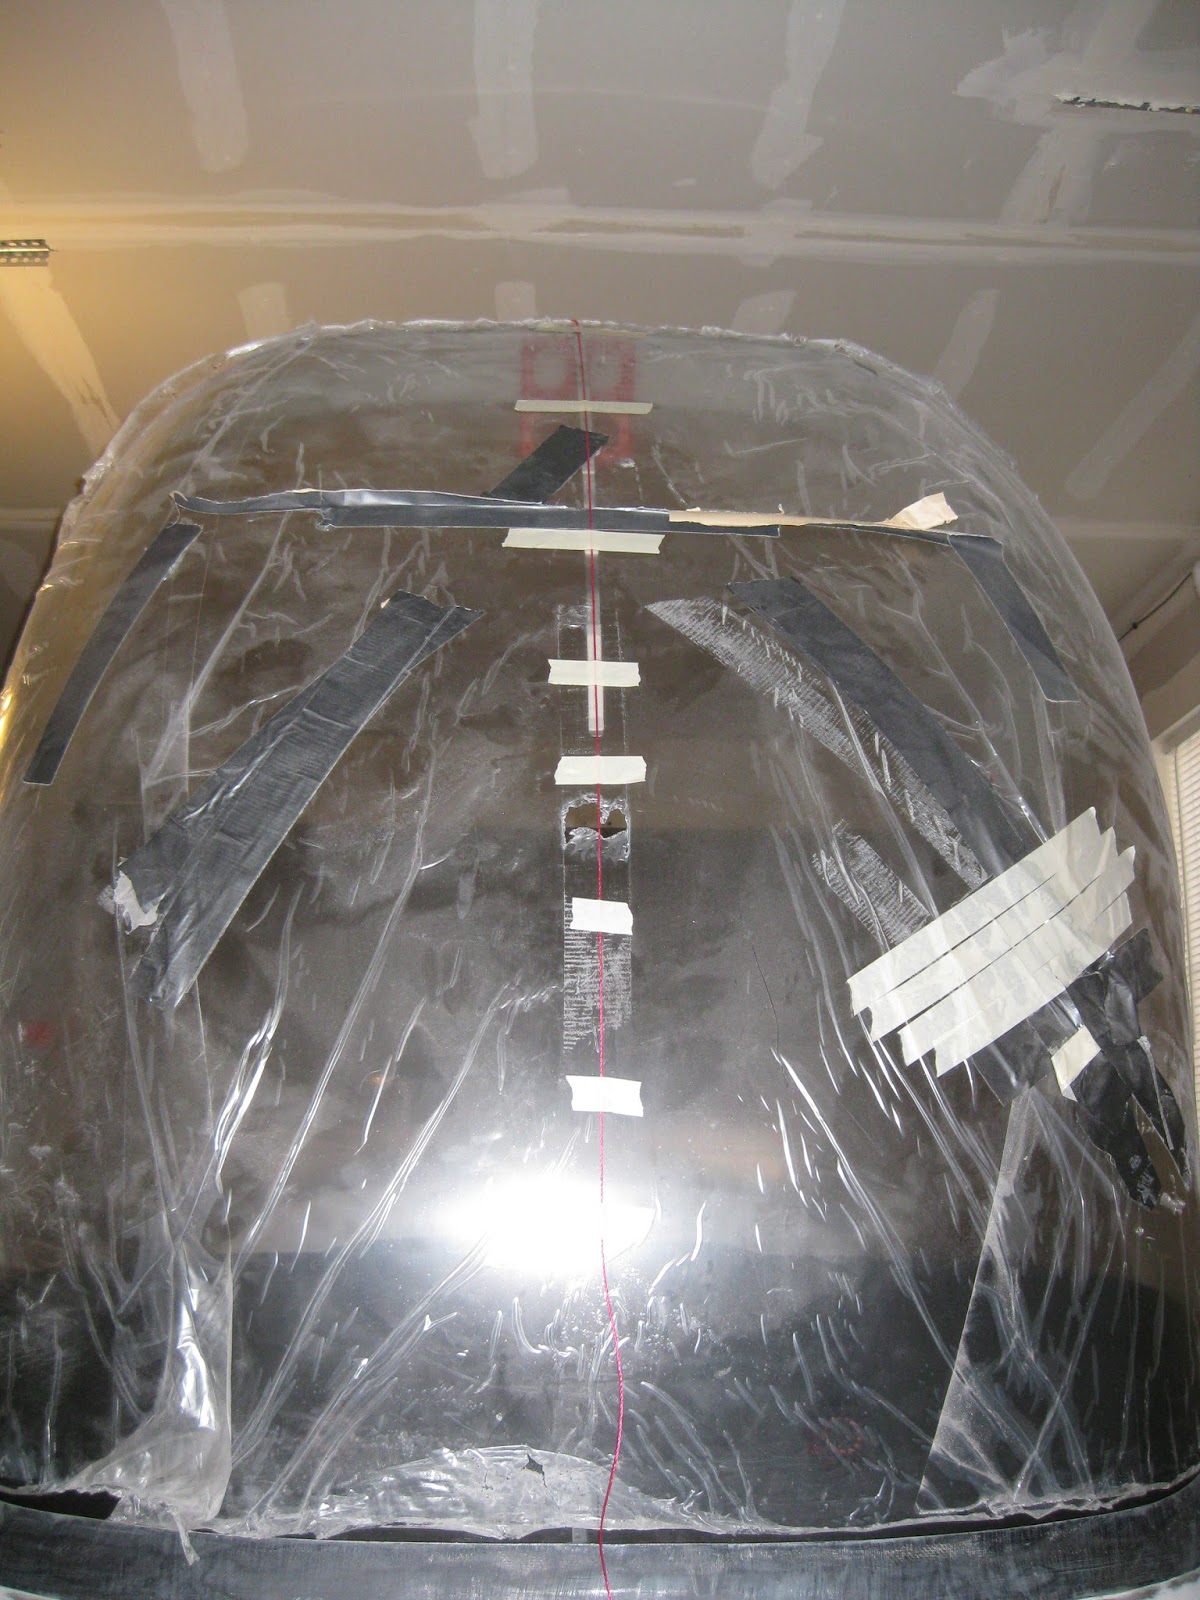
The most important part of the install is to ensure that the track is 1) bent properly to exactly conform to the interior surface profile of the canopy and 2) that it is centered exactly.  The accommodate the second point, I pulled a taut string across the canopy centerline and taped it in place.  Then, once inside, I could affix the track by following the string.


The rail is affixed to the canopy after proper bending.  Then the bows holding the shade are similarly bent to conform to their respective positions.

Top view.


Interior view with canopy raised.


Interior view with canopy down.


25 March 2017

Interior. Canopy release handle painted.

I wanted a barber pole motif on my canopy released handle.  I originally wrapped red electrical tape on the handle (below), however I figured the tape would eventually peel off.


So, leaving the tape applied as masking material, I painted the handle (left) and upon tape removal, was left with reasonable striping on the handle (right).  It's not a perfect barber pole, but it makes the point that the handle ought not be trifled with.


Here it is on the panel.  When I designed my panel, I included four holes for wire ties that can wrap around the handle.  This would make it harder to pull the handle for canopy release.

22 March 2017

Interior. Seating, arm rests, lap and shoulder belts placed.

I purchased my seats from Flightline Interiors.  You can read about my selection here.  The remaining piece, the harnesses, also obtained through Flightline, are from Crow Enterprizes (sic).

I have not yet placed the crotch straps as I will wait until the seats are removed from their protective plastic coverings. The carpeting will be the last thing to be placed in the interior so that the pieces don't get dirty.


The back rest cushions are affixed to the airframe's seat backs with snap buttons, like one might find on a pair of jeans.  However, Flightline provides snap studs for the seat backs that have self tapping screws (left).  These hazardous, invasive knives were not something I wanted in my airframe.  So I went on Amazon to find the right size snap studs (3/8") that I could rivet with LP4-3 rivets (right).


Flightline didn't attach the snaps to the back rests with consistent spacing, so the holes on the seat frame for each back rest must be spaced uniquely, meaning the seats and frames are no longer interchangeable once the studs are riveted on.  Below you can see the LP4-3 rivets through the frames, rather than sharp self-tapping screws.


And now the back rests are ready to be attached to the seat frames.


27 January 2016

Interior: Seats and interior items obtained.

My approach for the interior was a minimalist one, in favor of the weight savings.  Only seats, armrests and carpets.  No side paneling or other such items.

I obtained my seats from Flightline Interiors, choosing red fabric on faux suede grey.  Also obtained red armrests, grey stick boots and black carpets for footwells and baggage areas.  $1614.82 shipped.  I had an emblem (which has a rich personal history - a fun story I'll share on the apron) added to the headrests.


To help me during the selection process, I was sent these images.  The addition of a headrest emblem precludes choosing designs 3 and 4 (center).


This image includes the armrests (to the right of the seat).  Sitting on the seats and making airplane noises doesn't not get one airborne - I tried.


Here are the carpets and stick boots (F-14114 Control Stick Boot Doublers are visible).