Showing posts with label 36 Aileron and Elevator Systems. Show all posts

23 May 2016

Avionics/Fuselage: New sticks/control columns and grips.

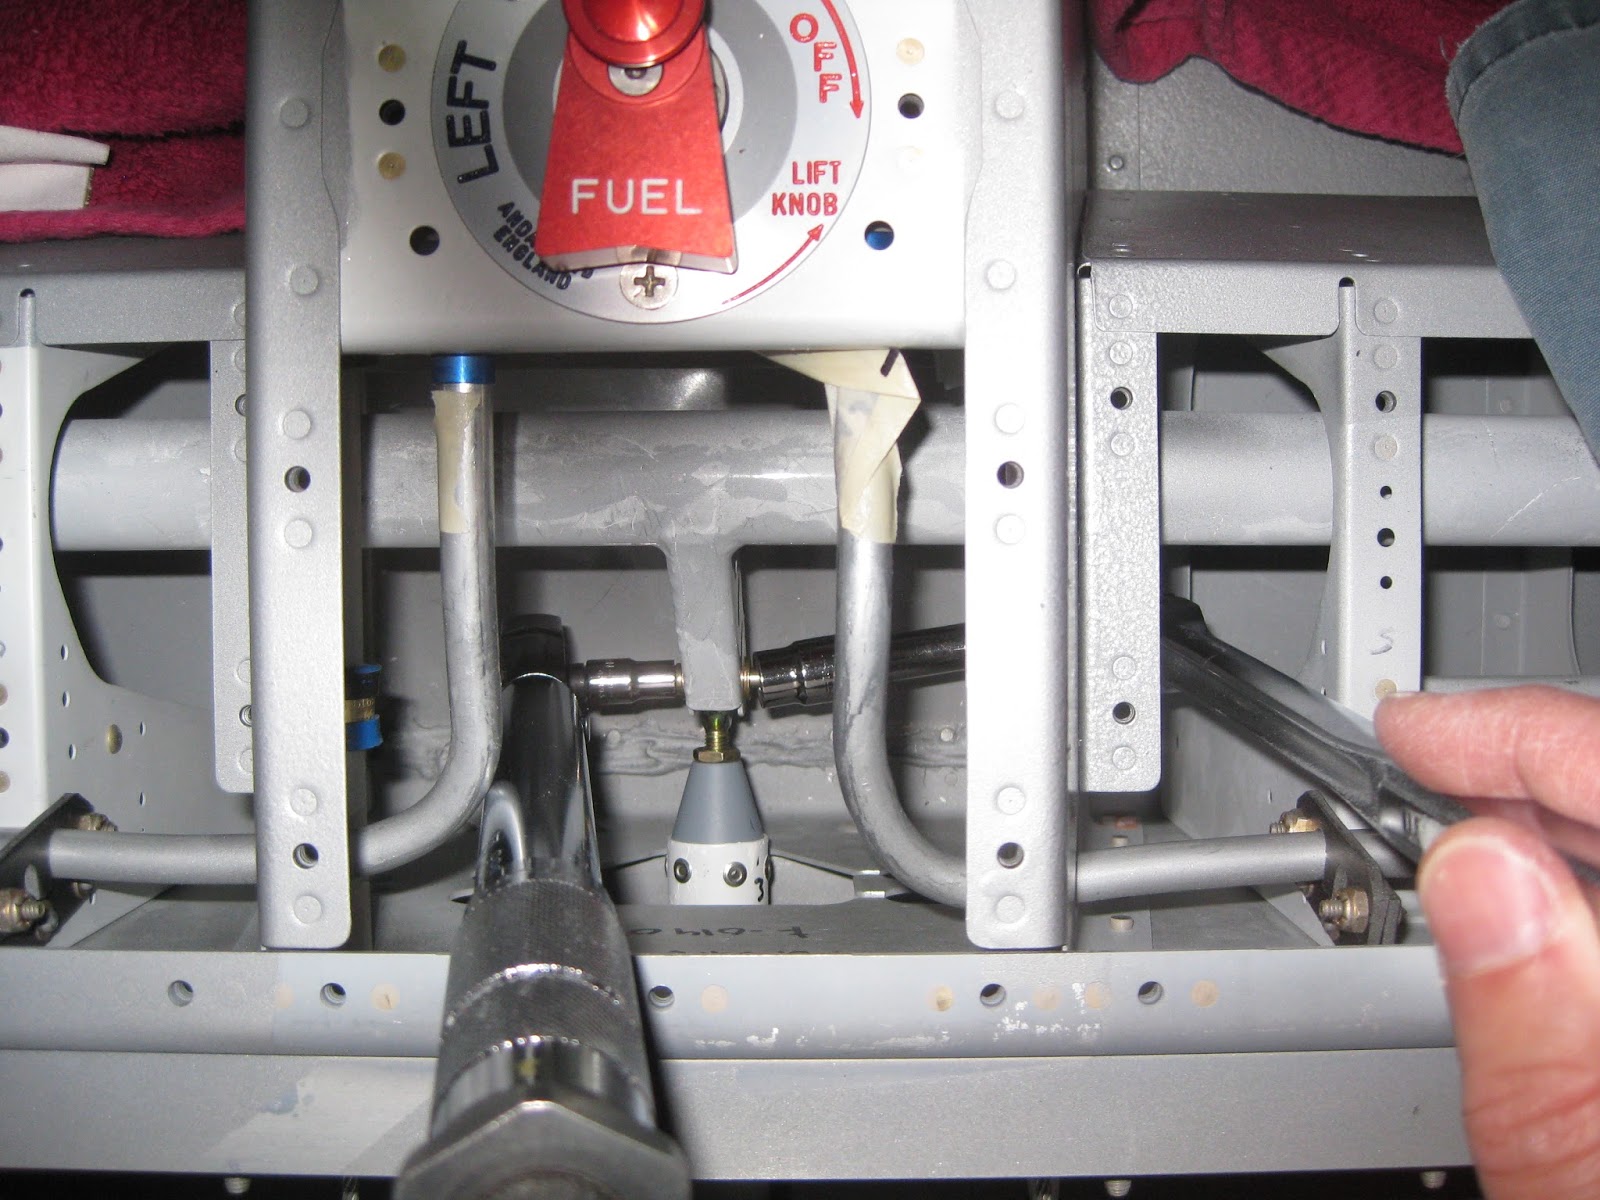
Work on the build has slowed mainly because I need another set of hands.  The last 3 months have seen only ~20 hours of work.  In the meantime, I've obtained new control sticks from Tosten with their CS-8 "Soft Touch" finish grips.  The grips are locked in place with a hex setscrew which themselves each have a jamnut.


As seen above, the 22 gauge wires are terminated in Molex (04303-00001) tin female terminals with the included 12-pin Molex (043025-1200) male connector.  Though not included, this setup mates into wires that are terminated in Molex (04303-10007) tin male terminals using a corresponding 12-pin Molex (043020-1200) female connector.  Tosten provides a wiring diagram (though the commons are shared between the hat and button switches via the white wire and no green wire is included).

The CS-8 is an 8 function grip:  Four-way hat switch, a trigger, an index and two face buttons.


Here is my planned button configuration:
  • Hat switch up/down:  Elevator trim
  • Hat switch left/right:  Unassigned (future aileron trim?)
  • Trigger button:  PTT
  • Index finger button:  A/P engage/disengage
  • Left face button:  Intercom (GMA-240) comm swap (replaced with a GMA 245 on 12-Aug-18)
  • Right face button:  Transceiver 1 (GTX-200) freq swap

The Tosten stick (on right, below) has a slightly different shape than the Van's stick (on left, below).  The former being a bit shorter to accommodate a full size grip, terminating at the base of the grip. 


The Tosten sticks come pre-drilled #29-ish at the base.  That would make it easy to match drill into the CS-00007-L/R Control Stick Bases (see page 36-10), if I hadn't already done that with the Van's sticks.  So I had to pull out the Control Stick Bases from the airframe and match drill them to the new sticks.  Turns out, it's not easy to get the drill bit on the same trajectory as original holes, so I had to ever-so-slightly increase the diameter of each hole on the exiting side.  With just the bolts in place, without nuts, the sticks are still locked in place and don't rotate since the entry holes are the correct diameter, so it's a non-issue.  The Control Stick Bases were then re-attached (much easier to do when you have this toy).

13 February 2016

Fuselage: Aileron and Elevator Systems. Control columns in.

This post is delayed due to my researching a good way to grind/sand the control stops.  The work in this post was mostly completed in November.

For the control columns, we're directed to line up the CS-00007-L/R bases to the CS-00008-L/R with a digital level, then use a "dab of superglue" to hold the parts for match drilling. 


After letting my dab cure for a day, as soon as I picked up the adhered assemblies, they separated.  So, I used the superglue completely around the joint between the parts and let that cure for day.  Let me assure you, those parts were now locked together.  Then, with generous Boelube usage, the match drilling went without a hitch (below)  Afterwards it was easy enough to break the superglue bond with a few light taps on one of my EAA Chapter 1000 benches.


For placing the CS-00004 stick link pushrod, a number of washers are required (left).  The inner ones are a challenge to place, as you can imagine.  A builder suggested I superglue them to the bearing on the pushrod (right).  Seemed like a great idea.  But as soon as a shearing force was applied during placement, the washers fell right off.  So that didn't quite work out for me.


Searching around, so as not to reinvent the wheel, yielded this little gem of an idea.  I was able to fashion that with some scrap (left).  And using this tool, the washers were placed with ease (right).


The next challenge was filing down the stops to meet the deflection criteria on page 36-13.


It's very challenging to reach the stops on the top and incredibly challenging to reach the ones on the bottom.  I bought a diamond riffler set to help...


...though at times using this gentle "grinder-on-a-stick" on my Dremel helped too.  The left image has the grinder oriented on the top stop, whilst the right on the bottom stop.  These demonstrative images were taken after I was done grinding the stops, hence why the control columns are in.


I also found it useful to have a small vanity mirror positioned below the bottom stop to help me stay on target with both the Dremel and the rifflers.


The sticks are in awaiting their control shafts/grips.


04 November 2015

Fuselage: Aileron and Elevator Systems. Pushrods in.

A relatively simple task to put the elevator pushrods in.  I installed them in reverse order from the plans to facilitate access to my other workstreams.  I actually built the pushrods back on 22-Jan-15.

First I put the CS-00003 Aft Elevator Pushrod after placing the F-14139 Bellcrank Mount.  The mount gives much needed rigidity to the F-1037B/C Battery Angles and F-01429-L/R Bellcrank Ribs (left).  A strategically cut and placed piece of cardboard helps augment pushrod movement so it doesn't get caught on the bulkhead lightening hole (right).


It took me a good hour to file down the F-01405E Idler Bracket so that the CS-000111 Idler Arms could freely travel.  The clip on the right was easily bent back into place.


It's a bit of a challenge to reach the bolt that ties down the CS-00001 Forward Elevator Pushrod Assembly (left).  But it can be done (right).


I still have yet to set the stick base travel and other subsequent parts of Section 36.