
First the two cowl halves are aligned and match drilled.

I didn't want to use hinges at the top cowl since they would be somewhat difficult to remove and reports of eyelet breakage and burnt appendages have surfaced. So I decided to use quarter turn fasteners from SkyBolt. First, the scalloped flanges are positioned prior to match drilling (left). It's worth noting that with 3" spacing, I could fit 13 flanges but with 2.5" spacing, I could achieve 16. So I chose to go with 2.5" spacing. The flanges need to be bent to follow the profile of the firewall top (right), thus each flange was numbered according to its position. Also, as can be seen, I cut off 0.5" on the joggle of the flanges. That wasn't necessary. It's worth noting that the F-14134A Cowling Hinge Shim caused the cowl to sit too low when using the quarter turn fasteners. So I removed the shim.


Shown below is following match drilling of the flanges into the skin/firewall. The paper was just to prevent swarf from accumulating in engine parts.

Here are the two outboard-most flanges showing how well they ended up being positioned relative to the start of the side hinges.


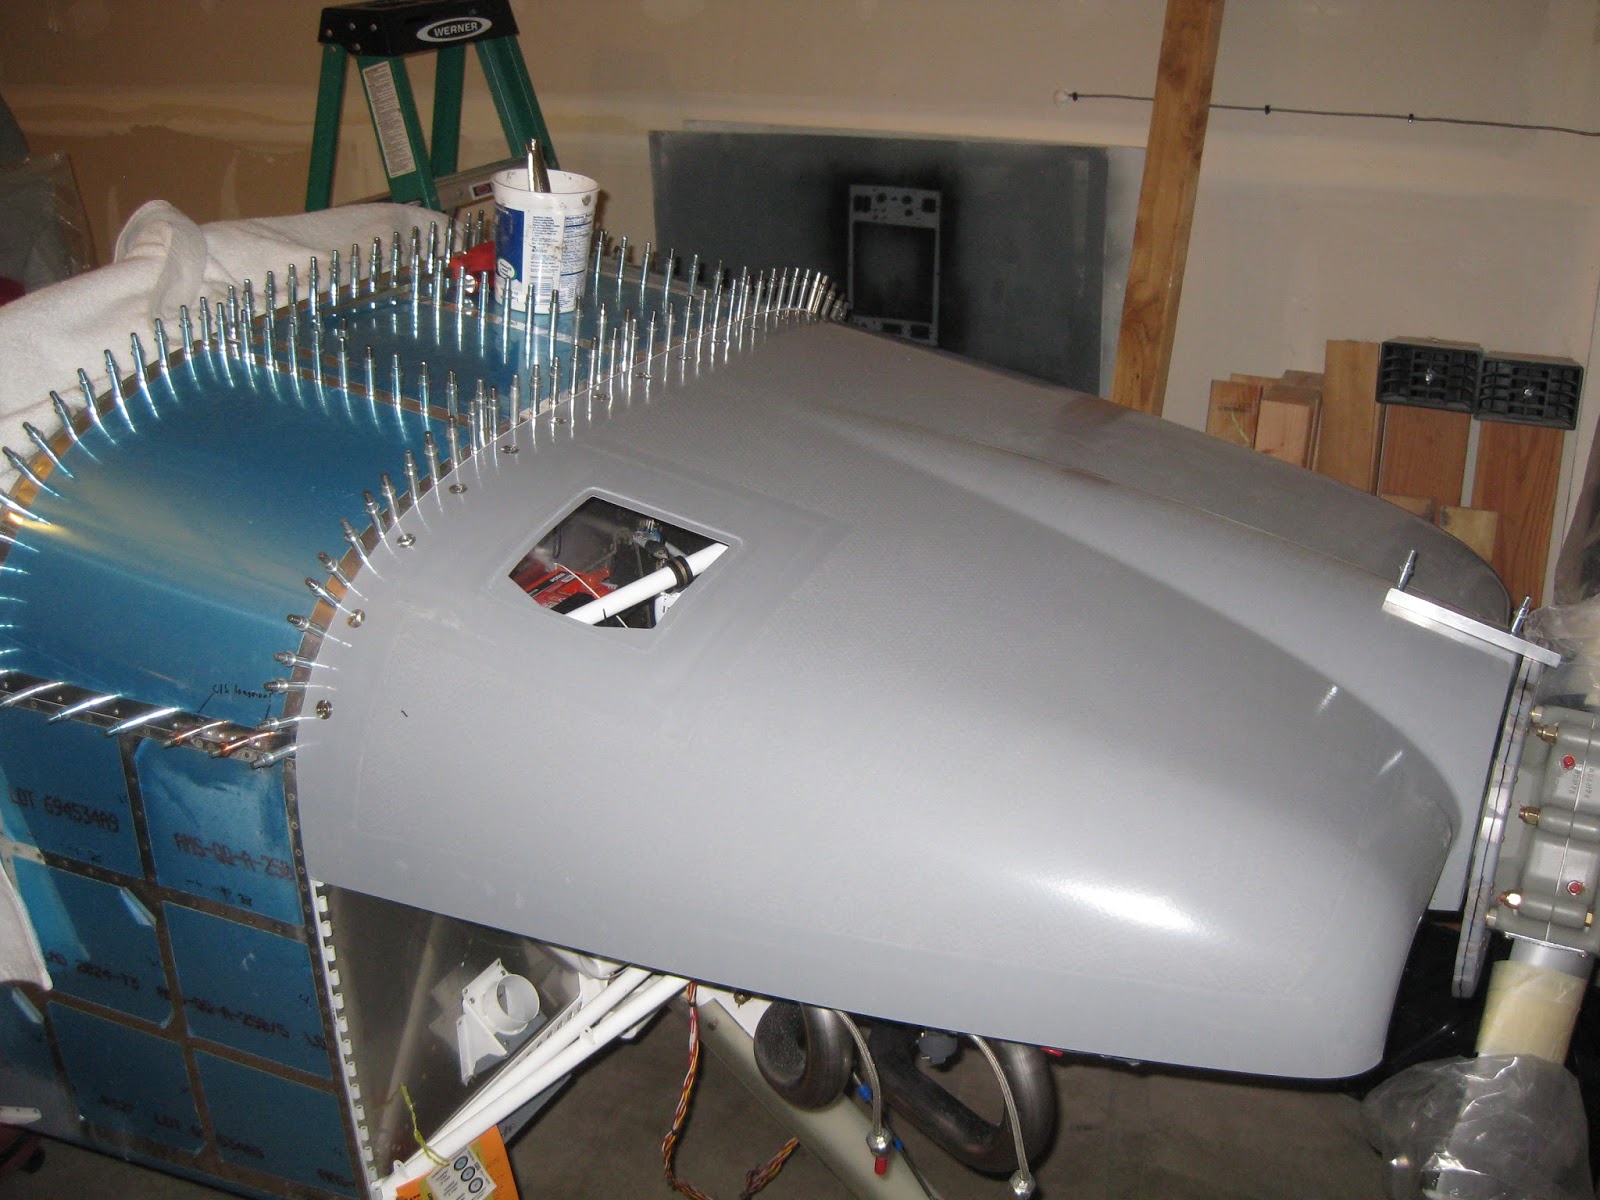
With the flanges now cleco'd in position, the upper cowl can be supported on its aft edge. Thus, after it was placed, plumb bobs, a straight edge and a digital level were used to ensure a level cowl, as outlined in the plans.

Since the aft edge of the cowl has not yet been trimmed, the upper cowl sits very far forward (left). After trimming the aft edge (by removing the cowl, trimming and replacing the cowl exactly 28 times), the requisite 3/8" clearance at the spinner is achieved as indicated by the very loose fitment of an AN3 bolt in the gap on each side (right).


These two images illustrate how careful I was to ensure the aft edge fit the edge of the skins following filing. I suggest making a mark, as I did in the right image, on the cowl to indicate where the edge profile of the upper forward skin changes from vertical to angling forward. This will help ensure you file the associated notch in the upper cowl properly.


SkyBolt includes little cleco adapters that you tape into the holes of the flanges so that you can drill through the cowl to insert a few clecos into the flanges. You can see a few of those adapters in the picture below. However, the cowl is very thick, so locating exactly where to drill those holes is nearly impossible since the light scatters so much.

So I opted to tape the cowl in place (not shown in the picture below)...

...then, using the flashlight, I would determine the approximate location of where I should drill holes into the cowl for the fasteners (left and right top). I would then blindly drill a hole (left bottom) and carefully enlarge and adjust its center with the unibit to match the proper location (right bottom).


Eventually, all holes were drilled (left) and each grommet was inserted into the holes, followed by the fasteners (right).


A fastener inserted.

The flanges where then primed and the receptacles were riveted in (left). Then the flanges were cleco'd back into position (right).


The cowl was placed and the quarter turns were locked (left). Next, the pins were pulled (center). The masking tape was included to ensure the receptacle anti-lock pins didn't fall out. And finally, the receptacles were set (right).


Upper cowl mounting completed. Only the oil door remains.


It's worth noting that, with the quarter turn fasteners, the F-14134A-L/R Cowl Hinge Shims caused the upper cowl to sit too low where it abuts the F-01471 Forward Top Skin. I omitted the shims.
This is VERY helpful, thank you for taking the time to post your process. My engine arrives in 6 weeks, would you recommend installing the flanges/receptacles first? My plan was to only use the Skybolt fasteners on the top firewall like you did.
ReplyDeleteGreetings. Thanks for the message.
ReplyDeleteThe order of operations I took seemed to work well for me. However, if I were to do things again, I would use the hinge along the upper cowl. I think the aesthetic is nicer and you don't get pillowing along the seam in flight. My concern about it being too hard or hot to remove the hinge pins seems to be unwarranted when talking to other RV-14 drivers.
Hope that helps!
I have a friend that lives close by that is also building a 14a, he said he really struggles with those top cowl hinge pins. The only access being through the oil door. He is going to try a thinner hinge pin to see if that helps. I agree though, the hinges sure give a much cleaner look.
DeleteHow much pillowing do you get? Is it only at higher speeds? Hopefully not enough to cause cracks in the paint.
Hey. I'm not sure how to quantify the pillowing other than to say it's noticeable though not unsightly. Considering how much the skins dance around in flight, paint cracking would be a greater concern elsewhere on the airframe and yet doesn't seem to be.
ReplyDeleteWhichever direction you go with your build, you'll have a nice airplane!