Showing posts with label 09 Elevators. Show all posts

10 January 2016

Empennage: Elevators. Replacement trim pushrod in.

The original elevator pushrod that came with the first kits wasn't the right length.  See my post here for more description.  Below is a picture of the original pushrod (top) and the replacement (bottom).  My replacement pushrod was received from Van's in December of 2014 with an associated plans update on 10-Dec-14.  Kits shipped later than around that time frame should already have the correct pushrod.


Here are the extremes of the servo travel after activating it in both directions.  It takes 22 seconds, stop-to-stop actuation time in both directions.  Approximate deflection of 37° downwards and 9° upwards, relative to elevator chord for a total of about 46°. This suggests the RV-14A likes to pitch up more than down.


08 January 2016

Empennage. Elevators. Leading edges riveted.

I rolled the elevators' leading edges back on August 14, 2014.  I wasn't pleased with how they turned out as they were flattened, I created small dents and in a few placed the roll folded up against the spar.  I spent several hours trying to fix them to my liking, but gave up after realizing I wasn't making progress.  So I accepted what I had and riveted them together (perhaps I'll build another set in the future).  The section is completed and these control surfaces are ready for their fairings.


11 August 2014

Empennage: Elevators. Rolled leading edges.

After much reading of various RV blogs and VAF, I decided on the following method, as described in this VAF post.  Another example of a similar process is found here.  Getting this right is important, otherwise it could lead to cracking.

I obtained some 3/4" ID conduit which was 15/16" OD.  I drilled similarly sized holes in three blocks of wood, leaving the holes much closer to one end than the other (to accommodate the elevator spar) for the conduit to slip in, then cut one side of the blocks just tangent to the holes.  This netted me three of the following.


I then laid a sliced-open trash bag on the work table so the elevator could slide along the table with lower friction.  The picture below also shows the conduit slid into the clamped-down wood blocks.


Next I applied duct tape (does anyone actually use that stuff on...ducts?) to one side of the elevator skin.  Half of the width of the tape was stuck to the skin, leaving the other half for the conduit.


I slid the conduit into the three blocks.  Then I placed the elevator on the bench with the flayed trash bag and nested the conduit against the spar temporarily to ensure the blocks could fit in the two spaces for the horizontal stab hinges and the other block could fit adjacent to the inboard skin edge.  I then wrapped the remaining width of tape around the conduit.


Then I inserted a pipe wrench fitting into the conduit (which held up for two rolling events, after which I just used a channel lock) and twisted the assembly.  The elevator was drawn in as the skin was rolled.


What I ended up with was the image below.  The roll was not close enough to the spar so the skins were nowhere near close to each other.  Had I continued rolling, the middle edges would have been curled inwards too far.  So this caused me to do a lot of manual bending, trying to avoid creasing the skins at the spar.  On the other elevator, I tried placing the conduit further in towards the spar prior to taping things down, but the outcome was the same.  If I were to do this again, I'd use a 1.5" OD pipe.


Eventually I coaxed the skins to get their holes to line up, but with more "preloading" then I prefer.  An apt characterization of this process might be "less than fun".


And although the top skins overlap the bottom skins without gaps (due to both the "edge break" I imposed on the tops skins and the fact that the top skins curl inwards), the bottom skins don't quite sit flush against the top skins (because the bottom skins also curl inwards).  See below for illustration of that outcome.


Currently the elevators sit with their leading edge skins cleco'd up.  I'm debating on what further to do, if anything, before riveting.  That pre-loading to get the skins to align isn't appealing.

01 July 2014

Empennage: Elevators. Counterweights cut.

The elevator counterweights have been cut.  They're composed of lead, so it's prudent to wear latex gloves.  Even though the primary vectors for its toxic effect are ingestion and inhalation, keeping it off your skin helps reduce the chances it will find a way into your mouth.  A mask is smart too when cutting.

Cutting lead was no big deal.  I just went very slow on the band saw with my blade.  It caused a lot of heat, so I had to stop periodically to let it cool down.  Will need to inspect the blade to see if I need to replace it.  In the end, it took 1 hour and 57 minutes to cut the counterweights to size.  Later, when the horizontal stab and elevator are mounted, the weights will be finely adjusted by drilling holes in them to ensure the elevators are neutral and balanced.


The elevators rest awaiting the curling of their leading edges and the resolution of the trim servo travel issue.

Empennage: Elevators. Trim tab servo installed and tested. Odd results.

Installed the elevator trim servo.

Here are the attach points held together with the cotter pins.  In retrospect, I should not have bent the cotter pins until after a successful servo test.


Also the trim tab hinge pin is held down with safety wire.  Curious about the lone AD4 on the gusset?  Read here.


Here are the extremes of the servo travel after activating it in both directions.


What's odd is that the up travel (right image) is minimally beyond in-line with the elevator.  The down travel (left) is occluded by the servo pushrod contacting the skin (I had to stop the servo before this happened, lest it dig in to the skin).  In fact, the leading edge of the trim tab's bottom skin is deflected by the elevator's rear spar, as shown below.


So, I have a query pending with the home base.  Turns out I'm not the only one who observed this phenomenon.  I'll update when I learn more.

Update 7-Jul-14:  The home base is aware of this issue and is "looking at a fix and detail work to distribute it".  My guess is they'll change the shape of the pushrod.  Too bad I bent the cotter pins already!

Update 7-Aug-14:  Image below (from my visit to the home base) shows the pushrod on the prototype, N214VA.  Its shape and materials are different than that of the plans.  Seems like it's longer and has more curve to it.  That would deflect the trim tab less downwardly and more upwardly.


Update 5-Nov-14:  Van's released a notification to builders today stating that if you obtained the empennage kit prior to 10-Jul-14 you need to contact them to request a new E-01401AB pushrod.

Empennage: Elevator. Trailing edge squeezer dies.

The trailing edge on the elevators in the -14 has a unique shape (internet lore suggests it was to match the flying feel of the Van's fleet).  It's an obtuse angle, forming a trailing edge that increases in thickness as you move aft (in contradistinction to a typical trailing edge wedge that converges to an apex).  This shape makes riveting the edge difficult as you have to support the elevator properly against the back-riveting plate or you risk marring the skins with the gun.


Several folks have reported successfully grinding down dimple dies to match the angle and then using the squeezer.  Avery Tools has manufactured application specific dies for the -14's elevator trailing edges.  I decided to give them a try as I didn't like how my left elevator trailing edge turned out (my trim tab's trailing edge turned out fine, but that's because I let my -9A friend do it for me - should have let him do the rest of the left side too!).  The safety pin contraption prevents the dies from rotating in the squeezer.  This keeps the surface of the dies oriented properly so they conform to the angle of the trailing edge.


When using these special dies, occasionally the skins would separate from the trailing edge wedge.  I couldn't determine why, but I was able to fix it just about every time it occurred.  Overall, I'm okay with how things turned out.


The image above seems to show the manufactured heads of the rivets somewhat proud.  It's an illusion perpetrated by the blue protective plastic covering.

I stopped using the tape as the plans suggest for adhering the trailing edges.  I used the tried-and-true method of sealant application on the elevators.

Now the elevators sit awaiting the rolling of their leading edges.


13 June 2014

Empennage: Elevators. Bucking final rear spar rivets solo.

For all of the rear spar rivets that needed to be bucked, on both the left and right elevators I had help, which made the process much easier.  The plans have you hold off riveting a few of the bottom skin-to-rear spar rivets so that there is better access for sealing in the trailing edge foam ribs.  I didn't have help for those remaining rivets, so I needed to come up with a way to hit them myself.  The challenge being, as I had previously learned, keeping the special bucking bar from slipping off the rivet during bucking.


Here's what I came up with.  Propping up the elevator with shims to prevent deforming skins as per plans, I locked the elevator in place with wood blocks clamped to the table against the tip rib assembly and horn then sandwiched the bucking bar in place with clamped wood blocks too.  I would move the clamps and bucking bar as I progressed through the remaining rear spar rivets.


You can see my left hand pushing down on the bucking bar, with the steel plate underneath it acting as a fulcrum, so that the bucking bar pushing up against the shop head of the rivet.


Hitting the inboard-most rivet was a bit of a challenge with that root rib coming in at an angle.

08 June 2014

Empennage: Elevators. Horn fitting to right spar.

I had the pleasure of building three right elevator spars before I finally was happy with what I had.  

Spar #1 was messed up due to builder error:  I didn't like how two tip assembly rib-to-spar AD4 rivets were sitting.  When I went to remove them, I completely botched the procedure (it's tight quarters in there) and the replacement rivets looked horrible (in fact, one went to an AD5).  I deemed them unacceptable (see below), though two tech counselors disagreed with me.  So I scrapped the whole spar assembly (spar, tip rib assembly, root rib and horn) in favor of a new one.
 
Update 19-Sep-20:  On having the opportunity of building another elevator, it occurred to me that it may be better to not follow the plans' order of riveting.  Thus, on page 09-16, I prefer replacing Step 2 with riveting the E-904 Tip Ribs to the E-00902-1L/R spars first, the riveting the E-903 Tip Ribs to E-904 and E-00902-1L/R.  This allows for easy squeezer access to those rivets shown below.


Spars 2 and 3 related to the horn fitment.


Spar #2 went along just fine in the beginning.  The tip rib assembly was a real pain to line up with the spar, but I managed to do it after several hours of frustration.  The horn was easily final drilled to the spar and root rib.  Then the root rib was riveted to the spar.  But, when I went to rivet the spar and root rib to the horn, the holes no longer lined up between the spar and horn!  After spending a few hours trying to solve the problem, finding myself perplexed, I chalked it up to builder error and scrapped the whole spar assembly in favor of a third attempt.  However, to see how the spar-horn holes would look, I final drilled the horn to the spar and root rib.  The spar-horn holes were horribly oblong, as expected, and shown below (in executing the final drilling step, I now of course had #30 holes in the horn).


Spar #3 reused the horn from the second spar.  This meant the horn had #30 holes in it and the spar and root ribs still had the corresponding #40 holes.  For this third attempt I took a different approach.  I figured if I riveted the root rib to the spar, then final drilled the horn to the spar and root rib when cleco'd to the elevator skins, I could avoid any misalignment problems.  See, because the root rib is flush riveted to the spar, in the plans riveting the rib to the spar is saved for after the horn is final drilled.  So in my mind, there could be some lateral movement freedom of the root rib that wouldn't be present otherwise.  Turns out, even after this sequence modification, I still had the same issue, as seen below.  (The image below shows some trouble I had priming the third spar:  My HVLP gun was not setup right so it was spitting out too much primer.)


At this point, I was skeptical of the problem being builder error as I had no such issues with the left elevator and the first right spar and I didn't believe I was doing anything different.  So I took a closer look at the three right spar assemblies I now had to see what differences I could find.  See the images below.


So clearly, the right root rib from my second (not shown) and third spars were misshaped.  On the second spar assembly, the problem manifested after the final drilling of the horn one doesn't rivet the root rib to the spar until after final drilling the horn to the assemblies.  So, the root rib's movement isn't restricted at this point.  

Upon consultation with Van's, they suggested I could bend the root rib to make it fit.  However, I don't believe they fully understood my findings.  Whatever machine is used to make that curve in the rib didn't put the curve in the right place.  It's as though the rib wasn't fully inserted (or inserted too far) into the bending machine so the curve happened slightly offset from where it was supposed to be.  Unfortunately, it isn't something that can simply be adjusted with a bend (or if it is, the method for doing so escapes me).  That bend has to be "rolled out" (sort of like what one does with a tape measure when you push the tape down on a surface). 

To make it work, what I did was cleco the horn to only the root rib so the horn was free to move along the spar (as free as it could given that the rib curve was restricting it).  Then I pushed, really, really, really, really hard on the horn so I could manage to sneak in one silver cleco.  Then I used my punch to wiggle the horn closer to a better alignment with the holes. I managed to get all six clecos in, very tightly.  However, I felt like the parts were under a lot of stress, so I didn't want to end up locking in that stress when riveting together.  So I took the horn off in favor of a different approach.
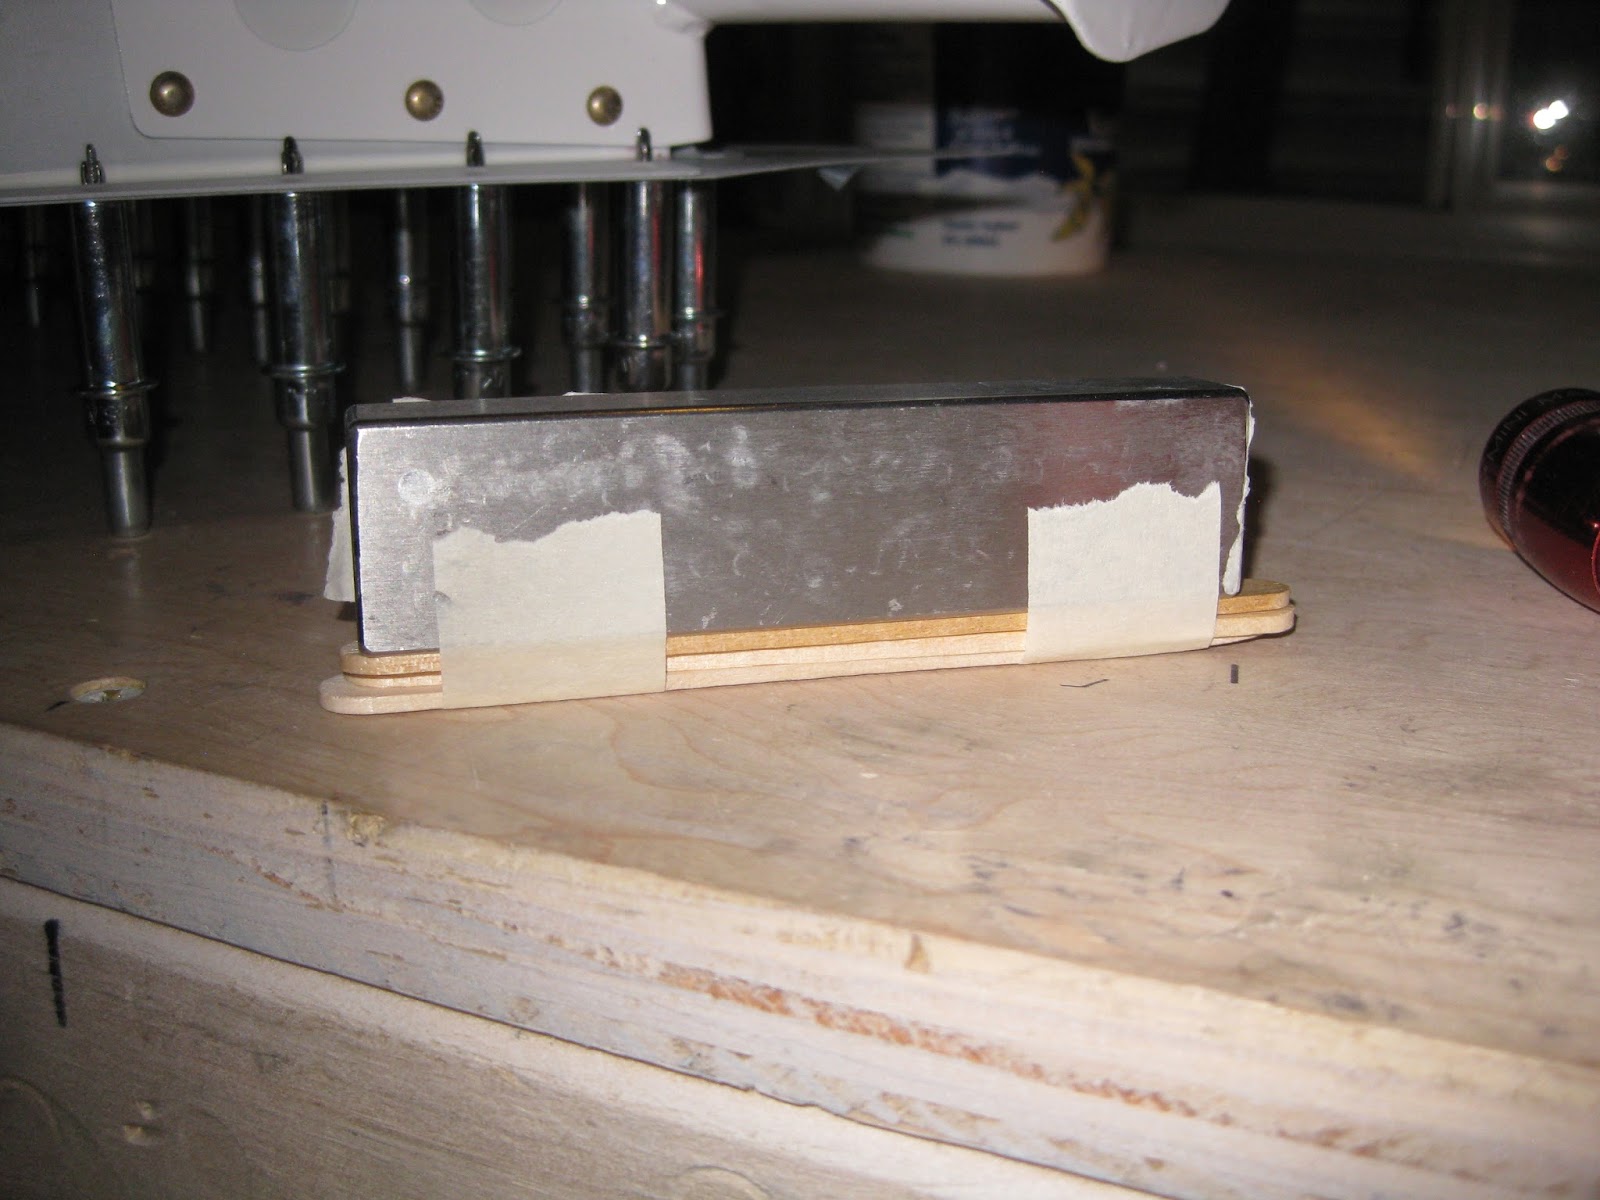

On the root rib I pushed really, really, really, really hard with strategically placed wood blocks to try to change the curvature of the root rib.  Seeming like I might have, I put the horn back on and using the same method as before, I convinced myself that the parts weren't under stress (or at least, not as much as before).  Now, keep in mind I'm reusing a horn that already has #30 holes in it.  So I had to make sure that the #30 holes I was going to drill into the spar would be round as the spar had #40 holes.  To do that, I had to ensure that the #40 holes in the spar would at least be tangential to the #30 holes in the horn (i.e., prior to final drilling, the holes should look like what's on the left rather than the right).  Using my #40 punch, I visually confirmed this desired outcome on all 12 holes.

When I final drilled the parts, I did not remove the entire set of clecos to debur, rather I removed one at-a-time to debur.  This way I ensured I wouldn't lose alignment like what might have happened on the second spar.  Every hole was round and each rivet slid in to its hole without resistance and not at an angle.  After riveting, the horn sits nice and flush on both the rib and the spar.  So, long story short, I now have this wonderful sight 5 months after messing up the first spar.


Which is now ready for the trailing edge and foam ribs.


I hope this explanation made sense.  For a problem that is essentially simple, it is surprisingly difficult to articulate it with a reasonable level of clarity.

Empennage: Elevators. Riveting the gussets.

It's a bit difficult to access the inboard gusset on the elevators.  You have to lift the skin up (assuming you remembered to exclude the associated skin rivets earlier on 9-18) to present yourself with a restricted workspace to slide in a bucking bar.  This is not a place you want to make a mistake (smile, bucking bar slip, etc.) as rivet removal would be a challenge.  For example, I ended up with an AD4 on the left elevator.


First thing to do is place some masking tape on the manufactured heads of the rivets to mitigate the rivet set from slipping and imposing a big toothy smile in the head.  Next, use a bucking bar that is appropriately dimensioned for the task.  I used Mr. T. as, when laid on one side, it lines up well with the lower gusset rivet.  Then, to hit the upper rivet, I taped some Popsicle sticks to the bar so it was elevated enough to cover a well-formed shop head.


Here's what the inboard gusset looked like after bucking.  Not too bad.


A similar exercise is done with the outboard shear clip.  The trailing edge rivet has a slightly angled shop head, but entirely acceptable.

29 April 2014

Empennage: Elevators. Trim tab piano hinge wire bent and inserted.

The piano hinge wire has to be bent properly so it butts up against the elevator rear spar.  This, when tied down with safety wire, prevents the wire from working out in flight.


The more you push the wire into the hinge, the more friction there is, so it becomes harder to push it in further.  Eventually, even after greasing with lithium grease, I could not get the wire through the last 3 eyelets of the hinge.  A former United and (original) Frontier A&P suggested chucking the wire into a drill and slowly driving it through.  Sure enough, that sucker slipped right on in to the end.  With the wire inserted, I could mark off where to make the first bend, then reinsert to mark off the second bend.  The A&P also suggested to file the end of the wire down so it becomes self-centering in the eyelets as you drive it through.


Here's the bending process prior to snipping the extraneous length off.


And the hinge wire in its final location.  It didn't seem feasible to have the part of the wire running aft-to-fore to seat up against the rear spar flange (see bottom picture):  The inboard hinge eyelet is in the way.  But since the up-down part of the wire seats nicely against the rear spar web, I'm happy with this. Just need to trim the end of the pin down so it doesn't dig into the spar.


Incidentally, on the top picture you can see an AN470AD4 where an AN470AD3 should be on the top-most inboard spar rivet.  When I originally squeezed the AD3 that should have been there, it clenched on me.  In removing it, I messed up the hole and had to upsize the rivet to an AD4.

After the slight trimming of the pin, all that remains is threading some safety wire in the 1/16" hole between the inboard spar rivets.  The hole isn't visible because it's behind the hinge wire in the image.

The trim tab has some added friction when it deflects upwards.  It's due to each half of the hinge not quite lining up.  One of the halves probably has a minor curve to it.  It's far from binding during travel, so let's just say it adds to the uniqueness of my airplane.