Van's provides a quick kit for installing a flap position sensor. The sensor will work great with my GRT HXr EFIS with the two being easily connected. I already had the Ray Allen POS-12 (available from Aircraft Spruce) as I was planning to replicate an approach recently posted on VAF.
The steel rod that came from Van's was bent during the shipping process, however I happened to have a twin pack of 1/16" stainless steel rod from K&S, part #87131 (which can be found on eBay for less than $4, shipped). The remaining parts in the kit include the Molex micro-plug, pins, plastic tube for bushing, screws and nuts.
The pushrod is cut and bent to plan (I should have put a ruler in that image - the pushrod is about 8 inches long).
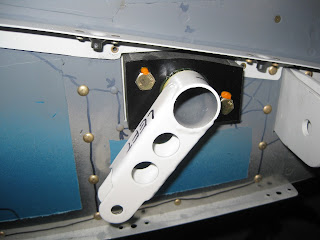
The F-01450F Flap Motor Channel has two holes in its web specifically for mounting the sensor. After removing, drilling a hole in and reinstalling the WD-1013A Flap Crank to accept the pushrod, everything is installed.
Here is a video in operation, flaps down (or is it up?). About 12 seconds, stop-to-stop.
And now the sensor awaits its mating to the EFIS. A future post describing that process is forthcoming.


