Showing posts with label 16 Top Skins. Show all posts

03 August 2013

Wings: Rivet removal in hard-to-reach place.

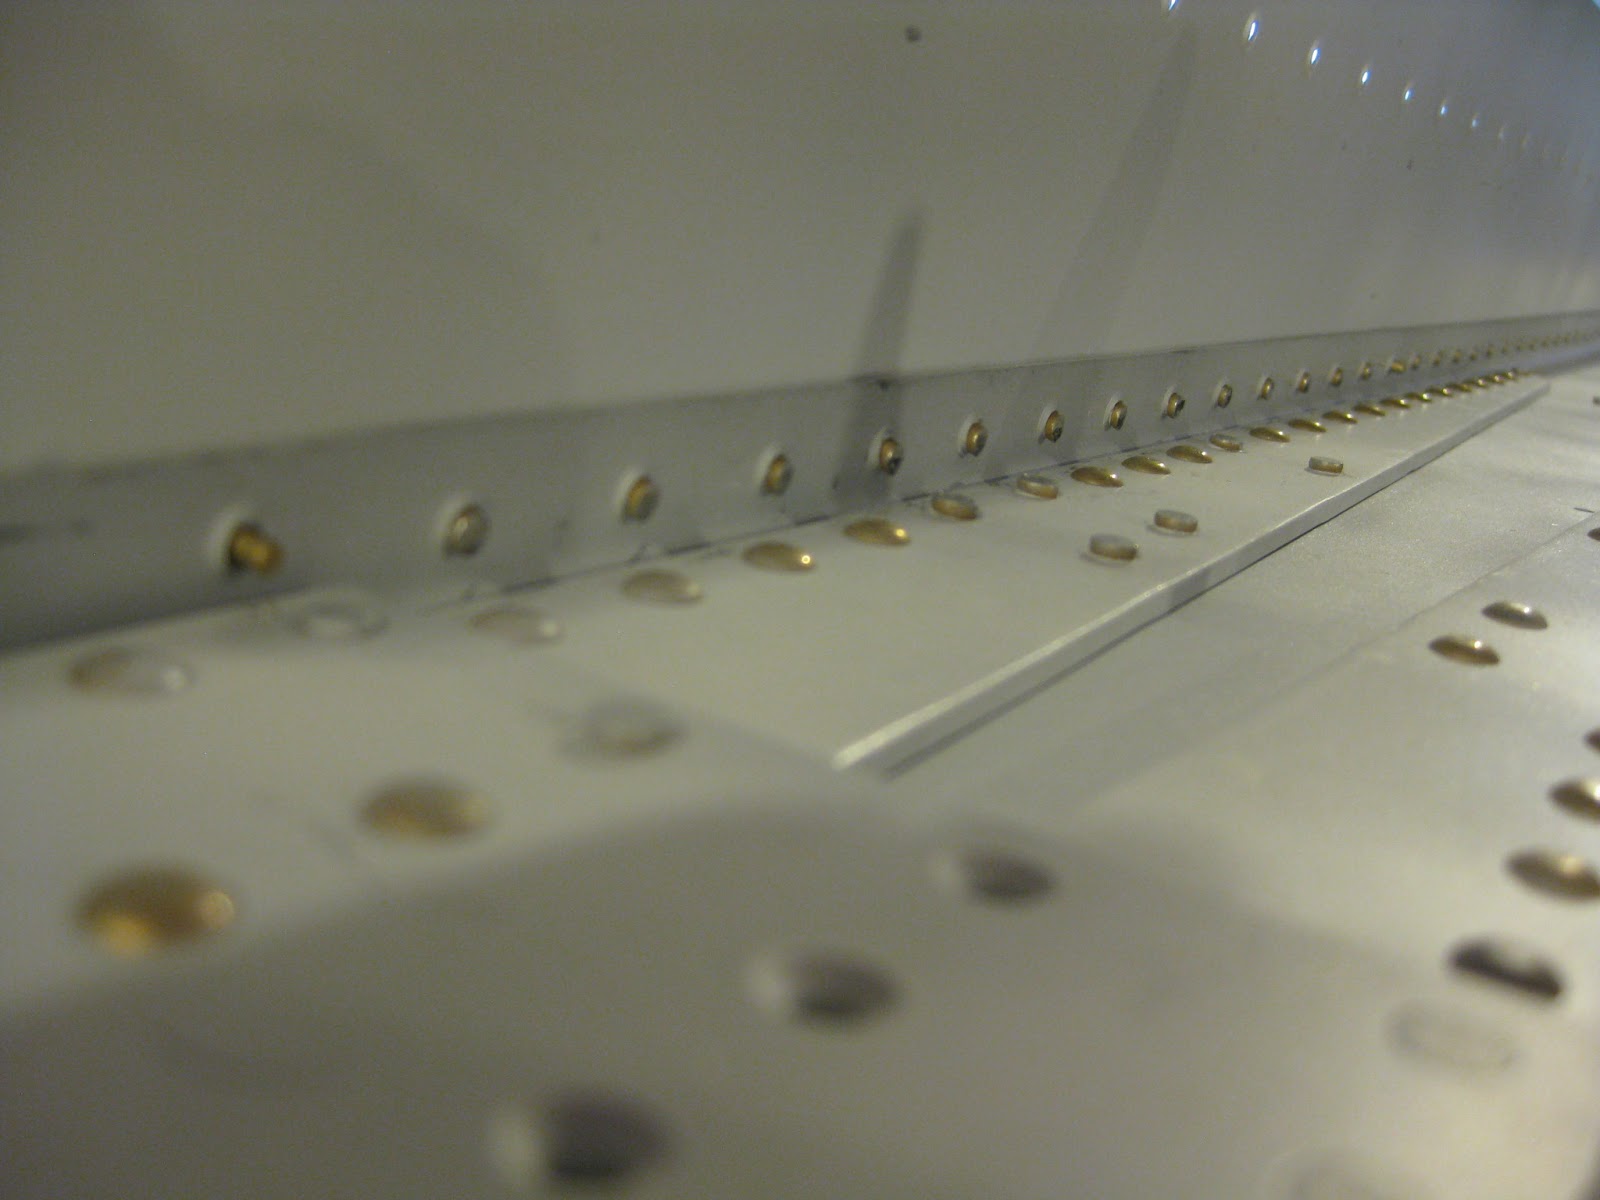
The rivets on the rear spar flange are difficult to buck over the doubler plates (both the flaps and the aileron doublers) because whatever bucking bar you use, it can be whapped into the AD4 rivets holding the plates in, damaging their heads (either shop or factory).  Sure enough, that happened on two rivets on the left wing when the top skins were going in.  These rivets necessitated removal.

With the top skins in place, removal of those rivets is very difficult because the drill bit needs to be long (and therefore harder to control) to clear the skin and the drill bit needs to be at a slight angle to prevent marring the skin.  I bought a drill extension because I didn't want a super long, thin, wobbly bit.  I couldn't afford enlarging this hole.  This could be used to start the hole on the rivet after smacking with an awl.

I also got a 6" #33 drill bit, intentionally small to avoid enlarging the hole.


Here is how the extension lined up on the rivet with a #40 bit.


A nicely centered hole of the right depth.  You can see the AD4 rivet on the right that's damaged too.


Head snapped off with the #33.


Hole after removal.


Rivet head and shank.  Perfect removal!

14 July 2013

Wings: Top skins. Done!

It is with great satisfaction that I report the completion of Section 16.  The top skins are on (thanks to 4 generous volunteers for their generous help), complete with the outboard aileron brackets, inboard fairing nutplates and their screw hole countersinks.  Left wing and right wing, both right before completion of Section 16's last page:


There are 4 Rivets of Shame ("oops", or NAS1097ADx-x rivets) on the right wing and 10 (!) on the left.  In the case of the left, on the ribs corresponding to the wing-walk doubler, many rivets leaned over when struck with the rivet set.  It was extremely frustrating and caused me to cease riveting those ribs until it donned on me what the problem was:  The countersinks in the skins were slightly offset, so when those rivets were placed in their holes, it sat at a very slight angle, forcing the shank over when struck.  With the shop head malformed, in 4 cases, drilling out with a #30 was necessary for removal.  The other 6 were due to poor centering on removal.  I think the bit I've been using for removal is dull.  It's the best way I can explain the sudden change in my removal skills.

At this point, I can progress no further on the main wing structures, lest I wish to fly short trips in the limited confines of my basement only.  Leading edges, fuel thanks and control surfaces will all be made without attachment to the wing until I can move the structure upstairs (which was done 18-Aug-13).

03 July 2013

Wings: Top skins. Right side 99% complete.

I have just A) 5 rivets on the outboard aileron bracket, where it attaches to the rear spar and B) 5 rivets to go where the rear spar doubler and fork meet.  These latter rivets have me perplexed.  How to buck them?  Seems like I need a sharp footed bucking bar (I ultimately used this one).


Ended up with one more NAS1097AD4-3.5 "oops" rivet (Rivet of Shame).  This one was on the J-stiffener between the 7th and 8th ribs.  My bucking partner and I were out of sync and the rivet sat way proud.  When drilling it out, I got the head off just fine, but I went too far with the drill on the body and ended up with a thin circumference of the body in the hole.  Could not get the sucker out, so I upped the hole to a #30 and slapped in the "oops".  No big deal.  The right wing now has a total of 3 "oops" rivets.

And here's the pretty right wing.  There are three rivets in the ribs that I plan to remove.  I don't like the shape of their shop heads.  Hopefully, the dimples don't crack.


Riveting the J-stiffener was super fast since I used the straight extended set rather than the extended offset.  Much more of the impact energy goes to the piston on the end of the set.  Literally takes less than a second on the trigger at 85 psi to slap down the shop head to size.  Really speeds things up.  Finally, the roll pin broke three times.  Good to have replacements ready.

Looks like riveting the right top skins takes about 17 hours.  I have no idea how others do it so quickly.  Wish I knew the secret.  Can't wait to find out how long the bottoms skins will take.

28 June 2013

Wings: Top skins. Riveting coming along slowly.

The right top wing skin rivet task is maybe 50% complete with about 10 hours (!) of labor.  Just 6 more ribs to go (and the fore and aft axial lines), the skin overlap seam and finally the J-channels.  I've had help from four very kind individuals.  It's slow going due to the need of another set of hands.  Then, there's a left wing to complete!

I'm following Van's recommendation to start in the middle and work your way out.  This is due to the expansion of the skin caused by each rivet.  You want to push that expansion out to the edges to prevent oil-canning of the surface.


I noticed that some of my wing-walk area rivets were standing a bit proud prior to setting (personally, I'm guilty of that too).  I was really surprised given how much time I spent making sure the original cuts were the proper depth.  I suspect it's due to 1) the primer seeping in the countersink and 2) a slightly different surface profile of the skins when finally cleco'd and riveted.  Anyway, a few careful turns of the countersink cutter was necessary.  Even still, most of these rivets sat less than 0.006" proud, as gleaned from the feeler gauge.  Turns out that's the maximum permitted for shaving to be an option.  So I buzzed them all with the shaver.  Now the wing-walk is super smooth and I don't have to worry about those heads ultimately gouging through the foot traction material.


First thing to consider is how to back rivet since the rib flanges are in the way of many rivets.  As noted before, the 12" double offset set is the way to go.  But the collar diameter is too large, so I filed away one side to make sure it sits against the rivet fully.  And the 1/8" diameter 3/4" long roll pin on my set keeps breaking.  I now have a bag of 250 of these to replace as needed.  Finally, the rivet set is long and not straight, so when impacted by the gun, the set absorbs quite a bit of energy in what must be compression and bending.  So I run the compressor at 95 psi rather than around 60 when I use the mushroom set.


The inboard nutplates don't receive a #19 or #20 cutter for the #8 screws because the bore is tapered to provide friction against the threads.  If you try to use those cutters, you can't get a deep enough cut.  So you have to use a #30 cutter, very carefully.  You're removing so much material that you can see the three layers of aluminum:  1) skin, 2) doubler and 3) rib flange.  The delineating white stripes you're seeing below are the thin layers of primer.  If you look real close, you can see the countersink isn't quite straight:  It's a little deeper on the top part of the image.  But a #8 screw sits in there nice and flush, and that's what matters.


The rear spar rivets around the aileron, flap and rear-fork doublers are a challenge to set.  Back riveting is not an option.  Careful control of a beveled, footed bucking bar is necessary.  The trajectory of the shop heads on most of these rivets are a bit angled.  I suspect it's not a big deal as the strength of the doublers is probably derived from the larger AN470AD4 rivets on the rear spar.  In the case of the inboard fork and doubler, I'm guessing the flange there is also a lower load bearing, skin tie-down point.


I learned that removing rivets from a rib cause their dimples to crack and break.  I have two rivets in the same rib that are now NAS1097AD4-3.5, so-called "oops rivets", or as I prefer Rivets of Shame.  The originals had to be removed because the rivet set's roll pin broke which caused the shop heads to be horribly misshaped.  With these special "oops rivets", you can't tell them from any other when viewed from the top of the skins (which is the objective), but inside it's obvious given the larger shop heads.  Nice thing is, they filled up the new larger hole perfectly.  Careful, on-center drilling with a #30 and deliberate deburring followed by spot priming, was necessary to clean up these two holes prior to introducing the NAS rivets.


The aileron bellcrank bracket prevents the set from being negotiated for back riveting of the top flange.  Those brackets don't have to be installed in Section 14, but they're there now so the associated spar flange rivets were bucked in the classical way.


Unfortunately, during riveting between ribs 9 and 10 on the right side (the ribs between the aileron bellcrank brackets as shown above), the bucking bar wasn't held properly and dented the upper flange of the main spar.  I think what happened was the bar was initially pushed into the flange prior to being seated normal to the shop head.  I inspected this area very closely and can neither feel nor see any scratches or gouging.  It just appears to be a compression-based dent, so it should be okay.  But bummer nonetheless.


And finally, I had a heck of a time removing a rivet from rib #5 on the spar flange.  I really messed it up and ended up with a nicely elongated hole.  Since this mistake, I've had a lot of practice recently with removing rivets, so I'm finally skilled at it. But this specific rivet couldn't yet be the beneficiary of this new practice.  You can see the disgusting hole left over from my poor technique (left image, right hole).  The right image shows how poorly a standard AN426AD3-4.5 would sit.  Obviously, there's a lot to fill up there.


So, this one will be replaced with a NAS1097AD4-4.5.  The image below on the left shows the hole drilled out to a #30.  The center image shows the NAS1097AD4-4.5 placed in the hole, nicely fitting and filling it.  The right image shows the "oops" rivet set and bucked in place.  Perfectly filled.


16 June 2013

Wings: Top skins. Primed.

Following cleaning and etching, the underside of the top skins are now primed, as are the wing walk doublers and the various places on the main spar/ribs/rear spar assembly that needed little touch ups after minor collision with the bucking bar.  

This time I measured out almost exactly how much primer I needed.  The primer I'm using is a 3 part in 5:1:1 ratio.  I decided to go with 14 ounces, since that yields nice round numbers all around (10:2:2) and based on my previous experience, would get me full coverage plus a little left over.  I bought some syringes to measure everything out perfectly rather than eyeballing it like I've been doing.  I'm sure there's play on either side of the ratios to account for various sources of error.

I thoroughly cleaned the spray gun prior to and after this priming session to avoid the trouble I had before.

Putting on the first coat.


Final coat on.  When it dries, you can't see the strokes.

15 June 2013

Wings. Top skins. Dimpled.

Nothing too exciting here.  Just repetitive work, repetitive work, repetitive work.  Here's the inboard right skin, all dimpled up and ready for priming on the underside.


Sanding down the skin overlap area isn't easy without the right tools.  I used a combination of a Vixen file (too big for fine work), 400 grit sandpaper (not coarse enough), ScotchBrite wheel (doesn't take enough off) and even a Dremel deburring bit (just melts the aluminum).  I ended up with some tapering of the skin, but not enough to make a nice joint.  Ultimately, I decided not to worry too much about it.  On the other hand, Ed did a superior job on his RV-10 skins.

05 June 2013

Wings. Top skins. Wing walk part of skins countersunk.

Update 10-May-18:  If I were to build another set of wings, I would dimple the skins, doublers and associated rib flanges.  It would come out nicer and I suspect have no meaningful change in joint strength (probably would be stronger).

Got the inboard skins countersunk over the wing walk doublers.  Using my new microstop countersink cage, I set it on some scrap angle, then moved over to the skins.  I was terrified of making an error since replacement skins wouldn't be cheap.  I checked each and every countersink to make sure the rivet sat flush, so it was time consuming, but all turned out well.  The only mistake I made was I accidentally countersunk a hole that the J-stiffener attaches to (despite my labeling it as a non-drill hole, d'oh!).  That hole should be dimpled.  The countersink chattered (which is how I knew I made a mistake), so the hole is enlarged.  I'll up it to a -4 rivet with the #30 cutter.  Then I'll just press out the dimple in the J-stiffener, up the hole to a #30 and call it good.  No big deal.

There is a remarkable strength difference in the wing walk area versus the places between wider spaced ribs without the doublers.  That's how it's supposed to be of course, but experimenting with these things is part of the learning and exploration process.

Things to watch out for:  
  • Make sure to get those two extra holes over the flap bracket doubler.  
  • Be sure to sit the microstop cage flush to the surface.  It's a wing, so it's curved.  
  • Be sure to final drill #19 the correct holes on the nut plate screw holes.  Mark them properly and cleco the holes around them to block those off.  
  • Go slowly.  Better to work from shallow to proper depth then find yourself with a c'sink too deep. 
  • Test each countersink with a rivet after cutting.  Now's the time to make adjustments.
  • Tape off the VA-146 bearing on the torque tube support bracket so shavings don't get into it.
Here's the right side, all c'sinked.


And here it was prior to the c'sinking, all cleco'd in, nice and cozy.


Following the placement of the rear spars, I was surprised how wobbly the whole wing assembly was at that point.  A simple push on any part of the assembly parallel to the length of the spar saw quite a bit of deflection with little force.  That should be expected really, since there's nothing rigid preventing that kind of shear.  So when I cleco'd in the inboard skins for all that c'sinking, the whole assembly was very stiff.  Cool.

Wings: Top skins. Prepping for riveting.

Bought some more tools (never can have enough tools!) in anticipation of riveting the top skins on.  I'd like to back rivet those skin, as I think it will leave their surfaces cleaner.  So I picked up the tools below.  The rivet sets should let me get around the rib flanges either by length alone or with the double-offset.  The bucking bar is apparently more forgiving on the skins, based on threads at VAF.

Dumbbell bucking bar.


12" extended back rivet set.


12" double-offset extended back rivet set.