The nice thing (if there is one) about building your own plane and having the repairman's certificate for it too, is that you know how, and are able, to fix nearly anything, anywhere, anyplace. So I carry a set of tools in the baggage area. I use little padded lunchboxes since, if they bounce around, they won't cause too much grief back there banging things.
The complete list of what I carry is at the bottom of this post. Here are the pictures.
The complete list of what I carry is at the bottom of this post. Here are the pictures.
Second box's contents are shown below (not shown, spark plug socket).
Not shown, in a separate lunch box, are several quarts of oil.
These items ride freely, without a box: Light canopy cover from Bruce's Custom Covers, cowl and NACA plugs and my cheaply fashioned, lightweight and low-profile wheel chocks.
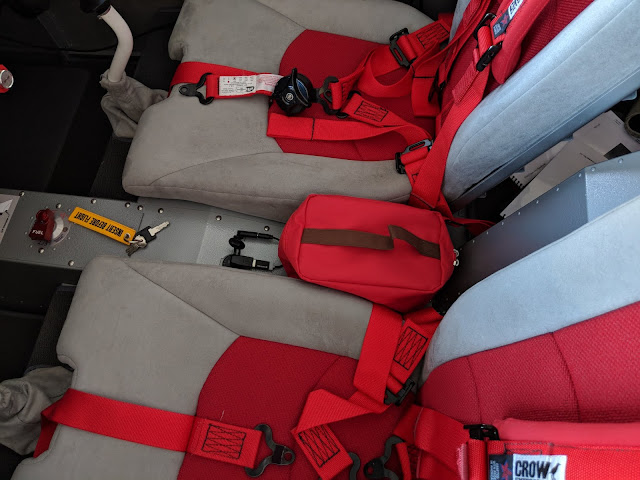
Interior, between the seats, are my sunglasses, USB charging cables, headlamp, FM radio, Wet Ones for cleaning hands after fueling and a little pick.

Those items above are kept here in this little red case from Hango. "Insert before flight" keychain available from eBay and Amazon.
The full list below.
- Tools
- Socket and ratchet set
- Air pressure gauge
- Ignition wrenches
- 6-piece mini pliers set
- Prop wrench
- 6" inch adjustable wrench
- Ratcheting screwdriver
- #2 Phillips stubby screwdriver
- Mini ratchet right angle screwdriver
- Micro ratchet
- 6" safety wire pliers
- 5 mm hex key for starter solenoid
- 5/16" hex key for nose gear
- Boelube
- LEMO to dual plugs adapter
- Fuel tester
- Pocket knife
- Spark plug socket
- Other
- Valve stem extensions
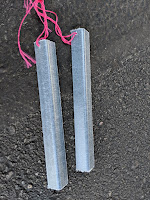
- Tie down anchors
- Tie down ropes
- Wire ties
- Tube patch kit
- Friction tape
- Oil
- Headlamp
- Cowl and NACA plugs
- Pitot covers
- Fuel vent covers
- Brake pads
- Safety wire
- Wheel chocks
- Toilet paper (unattended FBOs can be in short supply).
- Hardware
- Exteriorly exposed hardware
- Flaps
- AN4-8
- NAS1149F0432P
- NAS1149F0463P
- MS24665-151
- Rudder cables
- AN23-11
- NAS1149F0332P
- AN310-3
- MS24665-132
- Elevator trim
- Inside
- MS20392-1C11
- NAS1149FN432P
- MS24665-132
- Outside
- MS20392-1C9
- NAS1149FN432P
- MS24665-132
- Screws
- Empennage and rudder fairings, gap covers
- AN507C632R4
- AN507C632R6
- AN507C632R8
- Cowl screws
- AN525-832R8
- Wing tips
- AN507-6R6/MS24693S26
- Dynon heated pitot
- AN507-6R4/MS24963S24
- Tinnerman washers, #6 and #8
- Nylon washers for cowl
- 5610-18-31
- Elastic stop nuts
- AN365-632A
- AN365-832A
- Pinch-nuts
- MS21042-3
- MS21042-4
- Spark plug and oil screen crush washers
- AN900-10/MS35769-11
- AN900-16/MS35769-21


