
I decided to redo my fuel tanks. See here for why. The entries specific to the redone tanks are here.
For the installation of the capacitance probes, the RV-9 plans require you to cut a notch out of the vent line bushings to fit the wires. Well, I had already installed the vent line, so that wasn't a viable option. I didn't like the Van's method anyway since the wire could still fray up against the ribs with the notch removed. Turns out there is a 7/16" hole at the top-aft of each rib which must serve the purpose of helping the fuel move around a bit or perhaps a tooling hole. Since it's at the top of the tank, it wouldn't be a big deal to occlude it a skosh (effectively reducing its diameter) if I slipped in a bushing to carry the probe wires through. So that's what I did, winding the wires around the vent line to help anchor them.


Capacitive probe on rib 6, inboard and outboard sides, prior to final sealing and tacking of wires.

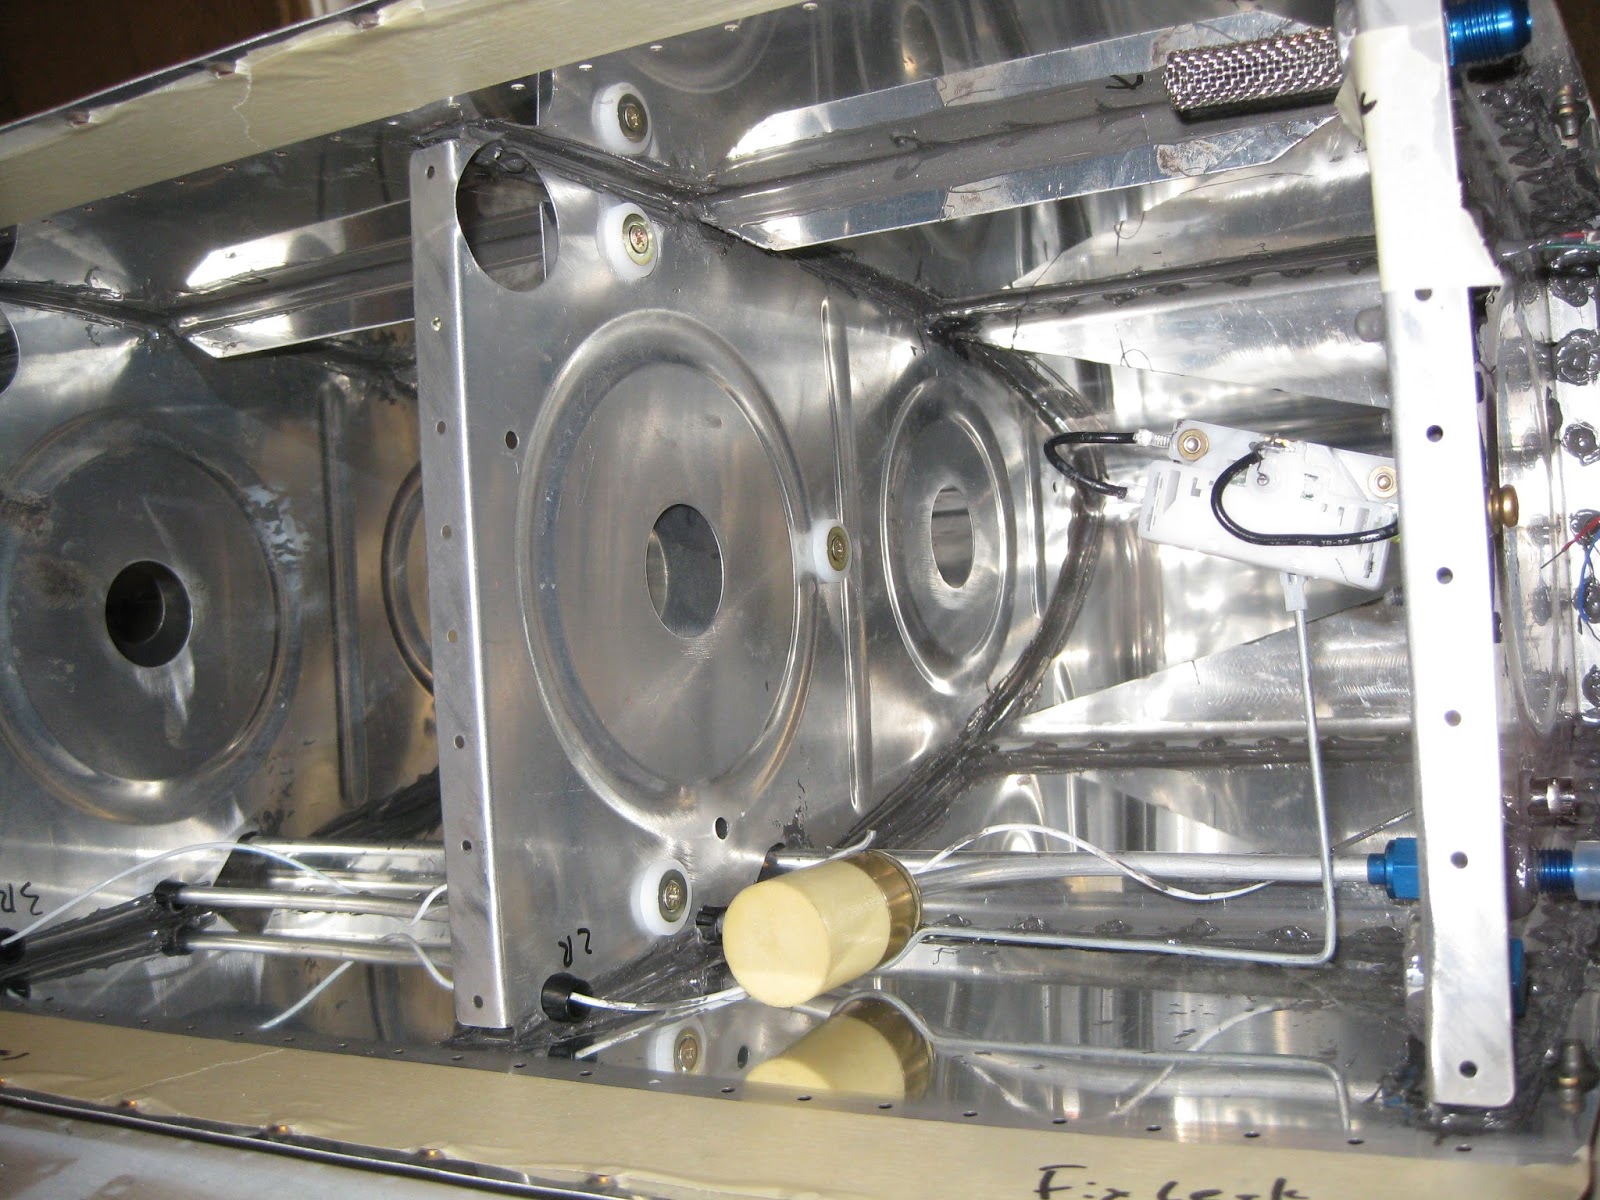
Capacitive probe on rib 2, inboard and outboard sides, prior to final sealing and tacking of wires. Note the fuel float. I will be using both means of fuel measuring (one for EFIS, one for steam). Also the low fuel level optical sensor is visible.
For installing the baffle, since it needs to be sealed on the inside, the plans call for the following sealant methodology.

After dropping in the baffle, using a more liberal interpretation of the above, here's what the sealant looked like prior to the baffle install. This was done with two stripes of sealant using the manual syringe gun. For the left tank, I'll integrate some of Mouser's approach to mine.

And here's what the sealant looked like against the baffle inside the tank (the below image was taken through the fuel filler hole). The sealant bead at the top is the baffle-skin joint (i.e., ignore the arrows). I also put a very thin layer of sealant (thin enough to prevent skin pillowing) on the inside of the baffle flanges.

And here are the baffle and attach zees cleco'd. I decided to sand down the primer I originally put on the tank attach zees' flanges so the sealant could get a better grasp of the parts. May not matter, but surely won't hurt, especially considering how ridiculously tenacious that EkoPoxy/EkoPrime is!

Where the baffle webbing attaches to the ribs, all of the rivets are AH-41/2H blind, except the out- and inboard ones which are bucked AN470AD4. The latter are very easy to buck solo, just be careful not to let the rivets work-harden prior to getting a good shop head. Also, there is one AN470AD4-5 rivet on that outboard side that requires a deliberate approach since there is a AN470AD6-5 filling a tooling hole impeding good bucking bar access.
The tank will sit inverted for a week or so to promote better sealing against the baffle. Probably won't make a difference, but it surely won't hurt. Every rib and baffle rivet head (shop and factory) and all mating surfaces were slathered with sealant, including a fillet at all joints.

After a full cure, the last baffle rivets will be installed following skin countersinking. Then it will be 1) final leak testing of left and right tanks, 2) priming of the baffle and outside rib faces then 3) hanging of the left and right tanks.
No comments:
Post a Comment