
Back in November 2015, when I mostly completed the upper forward fuselage section, I opted to not rivet on the F-01471 Forward Top Skin so that I had complete access to the area behind the subpanel during my wiring endeavors.
Now that wiring is complete, it was time to put on the Forward Top Skin. There are three complicating factors. 1) The C-01440-L/R Canopy Hinge Bracket bolts make access for riveting difficult. No joke: We used chopsticks to keep the bucking bar aligned. 2) The skin needs to be entirely sealed with sealant. Finally 3) it ain't fun being the guy with the bucking bar.
When cleco'ing the Forward Top Skin in place, I found that I could not get the holes into the longeron to line up properly. Which is odd, because back in November of 2015, the F-01488-L/R Upper Engine Mount Brackets were match drilled into the skin whence the skin was cleco'd originally from the center to the sides. However, I found that if I cleco'd the sides of Forward Top Skin first, I could get excellent alignment.

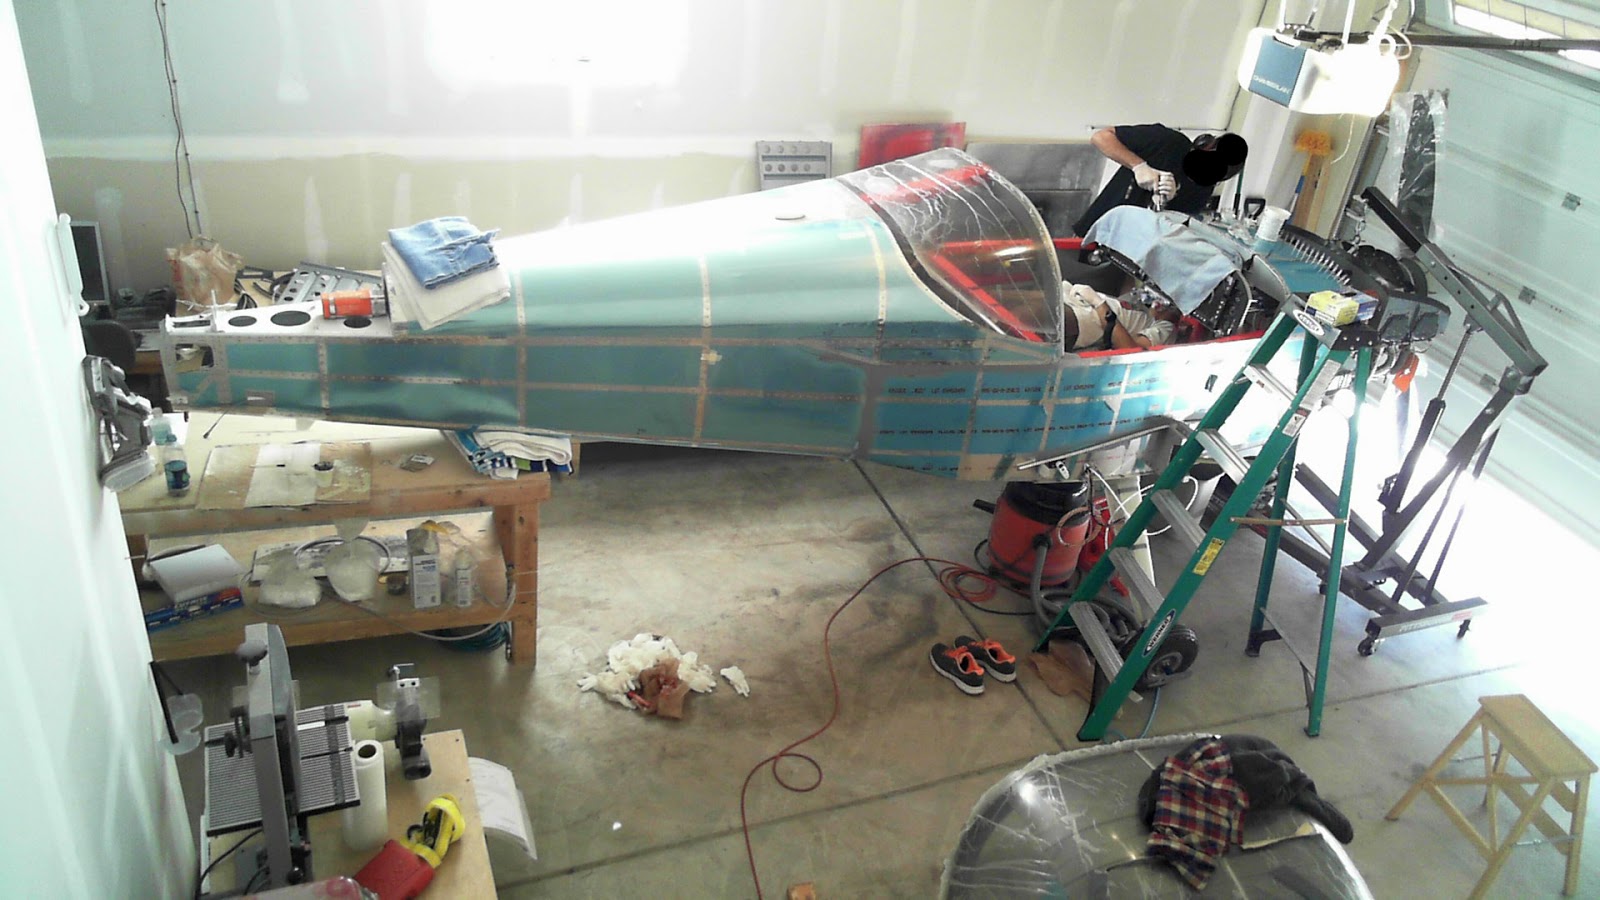
My poor friend drew the straw for holding the bucking bar.

Here we are, riveting away. Sealant is applied to all flanges prior to cleco'ing the Forward Top Skin on.
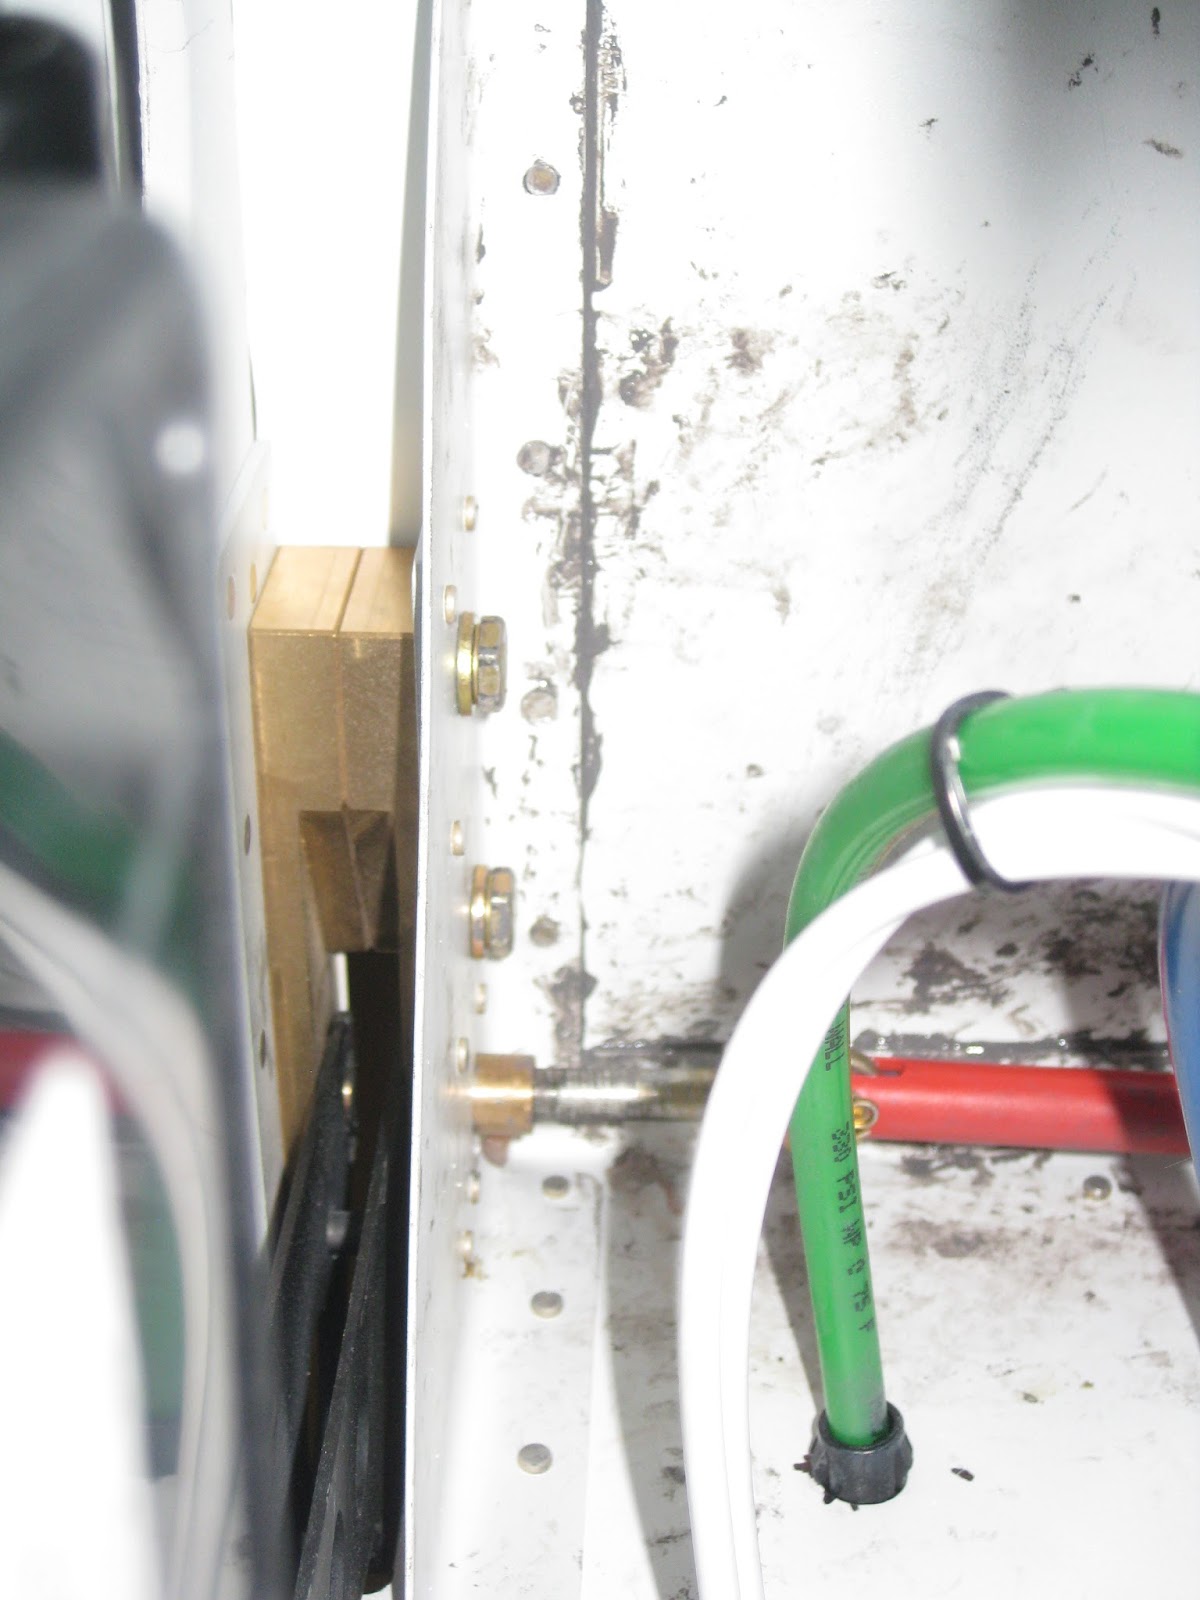
On the Upper Engine Mount Brackets, the bolt holding the FF-01400 Dyna-1 Tri-Gear Engine Mount prevented good access to bucking the forward-upper-most rivet. I didn't want to risk messing up this important area of the airframe. So I checked with Van's if a CherryMax CR-3212-4-5 could be used rather than the AN426AD4-7 (which is what is done for the analogous rivet on the F-01489-L/R Lower Engine Mount Bracket). They approved of the substitution.

Here are the Upper Engine Mount Bracket rivets from the outside, on the right side.

Here are the bucked rivets on the left and right mounts. They are acceptable.


A few pictures showing the sealant results. It got messy in there, but no worries: No one will see it.

Then the flanges for the SkyBolt quarter turn fasteners were riveted in. These were fitted back in December of 2016.

Next step is finishing up the sealant application.

It's important to fill with sealant all of the relief notches on the forward and aft edges. When this cured, I painted it the interior color.

Then I applied another layer of sealant because I didn't like how the first one came out. I am please with how this finally came out. What you're seeing below are the lower edges of the Forward Top Skin where it meets the F-01455 Sub Panel.


Here are shots showing the relief notches filled with sealant. The rivet in the left picture was later replaced (in fact, it was this very picture that showed that the rivet was unacceptable).


All done (my friend is reworking the top cowl left side).

No comments:
Post a Comment