28 April 2013

Wings: Flaps. Brackets straightened.

I asked one of my shop-master friends how I might straighten the W-1025A Flap Hinge Brackets, since I couldn't visualize how to do it with the tools I have.  They are, after all, 3/16" thick aluminum.  He suggested his hydraulic press.  The brackets are much better now.


I also had to order a #12 bit to final drill the aileron bellcrank brackets as required on page 13-05.  That is on the required tools list from page 3-02, so that's my fault for neglecting to purchase it earlier.

Wings: Ribs. Prep for systems holes.

I organized and labeled all of the ribs according to their position from inboard, 1-14, for each wing.  Then I could locate their systems holes, label their sizes and mark the locations for drilling (upper-aft, lower-aft, lower-forward and ground lug holes).  Since not all ribs get the same holes and each wing has different holes, this made the most sense.  Here they are, stacked, top to bottom, inboard (1) to outboard (14).  Left stack is left wing.

27 April 2013

Wings: Ribs. Deburring, dimpling and other stuff.

This marks the 54 hours mark.  Not much to show for all that time.  Nothing that looks like an airplane, that's for  sure.

I continued prepping the ribs by finishing up the #40 hole deburring and starting their dimpling.  For the holes, I was originally using the hand deburring tool but it didn't seem to be taking the burrs away.  So I ran over the holes with 400 grit sandpaper.  That was taking away the burrs quite nicely, but it was a lot of manual labor.  Turns out that handy 3M Scotch-Brite Fine-Finishing Sander was perfect for the job.  You could hear the burrs "ticking" off the flanges.  Plus, it's like free scuffing in preparation for priming.

There were a number of self-inflicted scratches on the ribs which I needed to remove.  Here is one example "before" and "after".


Then I had to sand out some minor nicks from the factory in the spar.  I wish I took a "before" picture, but here is one area sanded with 400 grit and polished with 600 grit, prior to priming.


When it came time for dimpling the ribs, the plans call for only the lower flanges to be dimpled.  That seemed odd to me.  Why wouldn't you dimple the top flanges?  So I peeked ahead in the plans and found that in Section 16, page 16-02, you're asked to dimple the top flanges, but not on the inboard 4 ribs.  That's because those ribs support the wing walk doublers.  Thus, I decided to label those 8 ribs (4 each, left and right) and draw a line down their upper flanges to avoid accidentally dimpling them (pic below).  I could dimple the top and bottom properly since it's easier now with them off the spar than later with them on.  That took a while.


Then it was on to the torque tube support brackets.  Those had to be match drilled as a single structure, then again when on the ribs.  Here they are as separate assemblies.


And here the right one is on its rib.  It was extremely difficult to fit this into the rib.  In fact, I plan to pull it out and adjust things to get a smoother fit.  I'm concerned that I may have gouged the W-1010-L in the process, in which case I'll be buying another one.


You can see how it doesn't quite sit well in there.


Now, the left rib torque assembly bracket was impossible to fit.  Why?  Take a look below.  The W-1029A-L isn't properly shaped.  It's as though they bent it at the wrong locations to make the flanges.  This isn't something I can fix since the holes wouldn't line up with the ones in the ribs if I just somehow rebent it.  So Van's sent me a replacement part.

25 April 2013

Wings: Main spar. Nutplates

I put in all of the nutplates called for in Section 13.  I used clamps to hold them in position then used the squeezer on every rivet I possibly could. 


Twice the squeezer caught the throat of the nutplate (image below), but the damage was so slight, I deemed it not worth correcting.


Here's one case where I wasn't being careful and riveted a nutplate 180 degrees out of alignment.  I just drilled out the rivets and replaced it.


Left spar with all flange nutplates installed.


Here are the factory and shop ends of the rivets holding a spar doubler plate on the right spar (before I banged on the rivets a second time).  I used masking tape to hold the rivets in prior to banging them.  Turns out that the cupped set stays in place easier that way (I learned that unintentionally).  But, one rivet got a little smiley.  According to MIL-STD-403C, page 10, "5.2.7.5 Marring of the manufactured head. A cut or ring caused by the riveting equipment used shall be acceptable on non-flush rivets providing the depth of the cut is not greater than one-fourth of the head height."  So, I'm okay with that.  I would probably make things worse trying to drill out a AN470AD4-6 rivet anyway.  The 2x gun takes about 60 psi to bang these guys in.


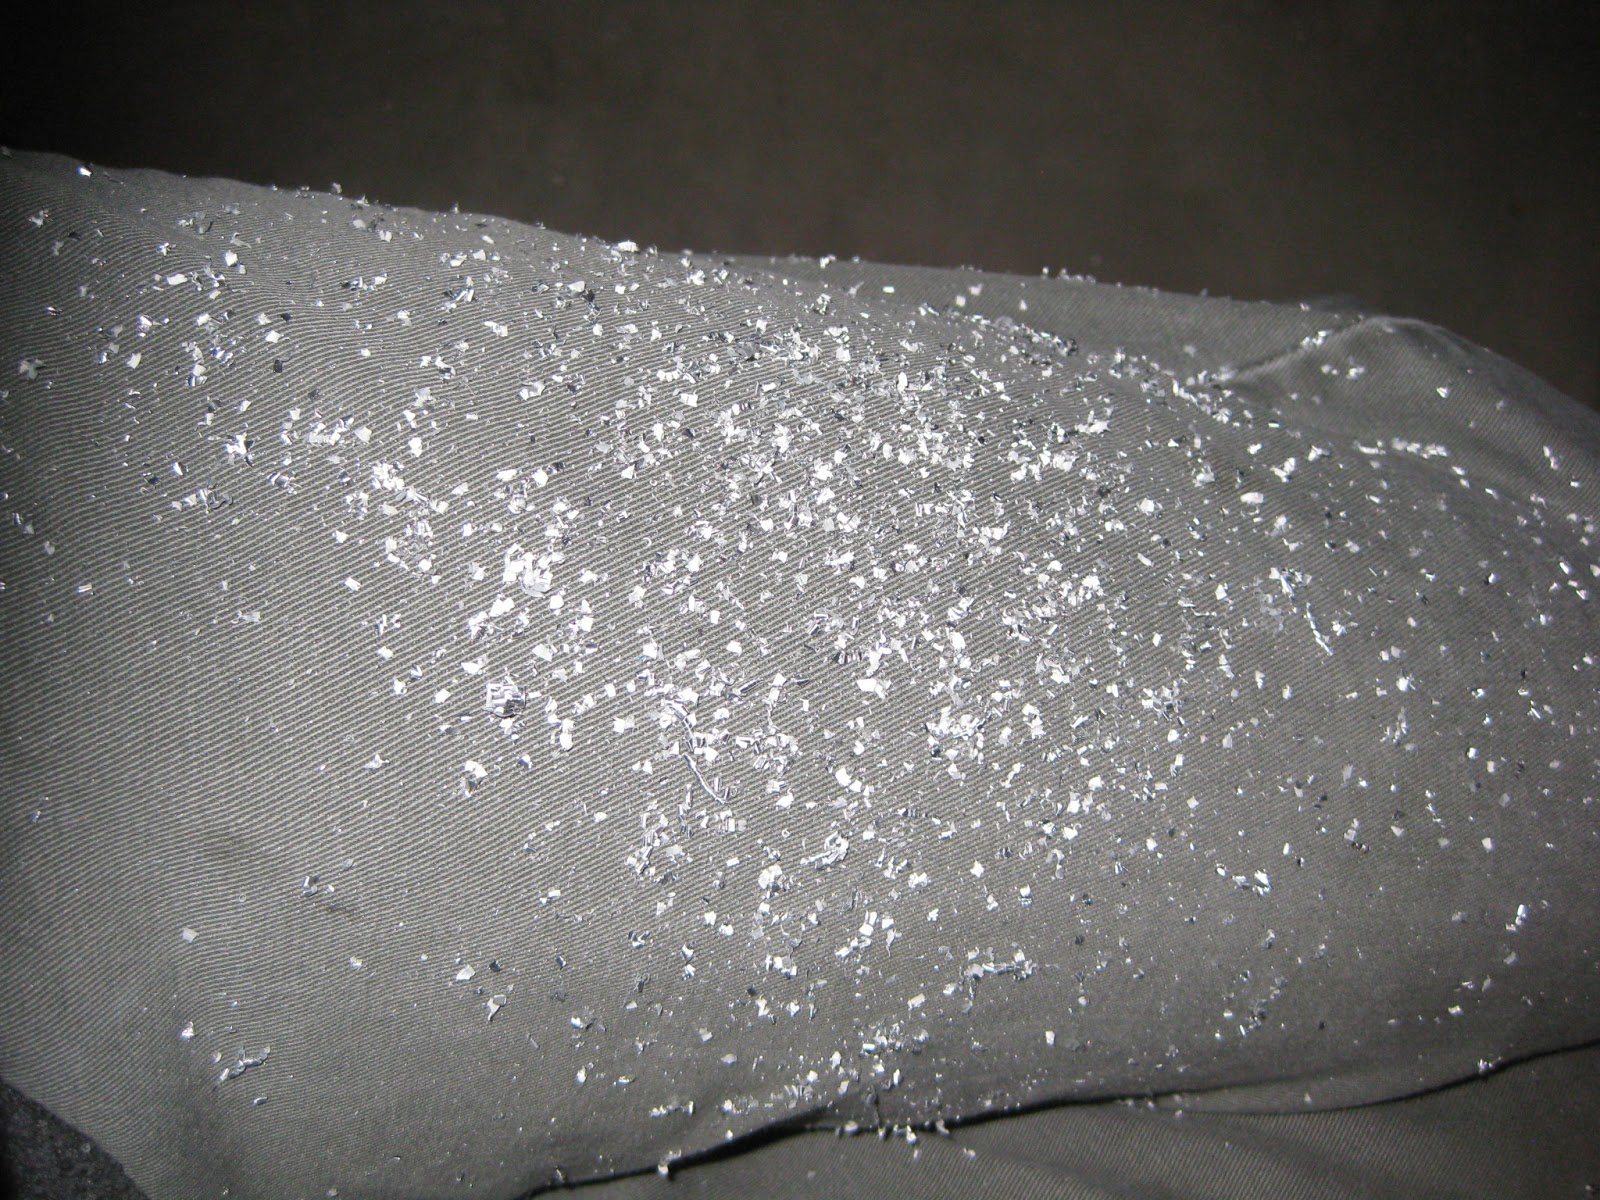
Interesting stress lines around the base of the aluminum on the shop end.  Turns out this is the anodized layer.


And then I went over those rivets a second time to square up the shop ends.  When I did that, I had removed the masking tape, thus I introduced smiles not just on the rivets, but the spar itself!  No bueno.


Took a lot of time to sand those out with 400 grit, shine it up with 600 grit, clean it then spot prime with Napa 7220.


Here are the fuel tank nutplates ready for riveting on the root of the spar.  These were difficult for me to rivet.  In fact, I had to drill out four since I set their rivets with the nutplate not flush.  You can see the primer I put down over the rivets that had smileys near them on the spar.  That was necessary after I sanded out the spar nicks.


Then the countersinking on the fuel tank nut plates.  These have to be deep to accept the fuel tank attach screws (AN509-8R8) and dimpled fuel tank skin.  I used the digital calipers to make sure I was in spec as called for in the plans.  I was 0.36" OD and 0"21 ID, exactly one hundredth of an inch below the max spec.  Whew!  The test fit looked good.  Following this, it was a another round of spot priming.  I wish the rivets holding the nutplate sat a little lower though.  They are barely beyond flush.


And finally (no pics for this), I used the wrong nutplate on the fuel tank nutplates out on the tip of the spars.  I used K1000-8D instead of K1000-3.  I must have seen the 3 on the plans as an 8.  Though the two parts are close in size, they aren't quite the same.  I'm glad I noticed they looked different (even though it was after riveting all 8 in) since now is the time to fix it.  They had to be drilled out and the countersunk holes primed again.  So, turns out I'm getting quite good at drilling out rivets.  The good people at Van's parts line are going to recognize my voice soon.

23 April 2013

Wings: Main spar. Countersinking and spot priming.

Lots of countersinking today.  Did all of the #40 holes in the spar as called for.  Leaves quite a mess.  Right picture is my pant leg!  I went 3 clicks further on the skin holes and added a little pressure (*note, Van's suggests 7 clicks). This should help the skins lie flush in the countersink.


Here are all the shiny new countersunk holes.


The plans call for the nutplates to be used as guides for countersinking their screw holes in the spar.  Many other builders use a piece of scrap, match drill it, then use that as their guide.  I decided to use that technique on the #40 holes only, using the nutplates for the #30 holes and repriming as appropriate.


Instead of spot priming, since it would take so long, I used Napa 7220 and just ran it down the flanges, using cardboard to prevent overspray.  Here's a shot of the right wing's lower flange.  I had to sand out the few scratches I created with the drill bit, prior to priming.

   
And a pretty shot of a primed, countersunk hole. 


Oh, and don't forget the #40 holes on the tip of the spar.  Keep in mind that those nutplates are attached to the aft portion of the spar, so you need to countersink on the forward part, not the aft!  Don't countersink the screwholes on these!  This was a mistake on my part as I misunderstood the plans.

22 April 2013

Wings: Ribs. Deburred, drilled, staightened and fluted.

So far, I'd say each rib has received about 45 minutes or more of attention.
  • All edges on the main ribs are deburred.  
  • All #40 holes are final-sized.  
  • All flanges are straightened.
  • All main ribs are fluted and flat.
The 3M Utility Cloth Roll 314D did the trick on deburring the tabs and other hard-to-reach areas.


The rib straightener rocked every flange.  I taped part of a cereal box underneath the pressing lever to get the edge as close to the rib bend as I could by just kissing the top of that part of the rib that curves up.


Fluting was an interesting experience.  Chapter 5 of the plans has little guidance, so off to the web I went.  One gentleman has a nice video explaining the whole process, so I tried that originally.  But I found it to be time-consuming and too much of a shot-in-the dark.  I had remembered reading that it isn't necessary to flute every space between holes, so off I went to the Internet for more ideas.  This fellow had a great technique which I adopted.

Step 1:  Notice that rib is curled here.


Step 2:  Start by fluting the part of the rib with the largest curl and work your way out.  As you press on the fluting pliers, the curl is reduced.  You can watch the rib get straighter as you press.  Notice that not every portion is fluted below.  That is the same rib as above.


Here is a nicely fluted rib.


All main ribs fluted.  You'll notice that each rib is fluted in the same general area and each one is done differently, according to its needs.  Initially, I was concerned that my table wasn't flat.  But I checked it with a straight edge.  Upon closer inspection of unfluted ribs, they tended to be curled in the same way.


This stack used to have a lot of springiness to it.  Now that they've all been fluted and are straight, this is a fairly rigid stack of ribs.


Next, these ribs need to have their #40 holes deburred on both sides and then dimpled properly.

21 April 2013

Wings: Ribs. Deburring ribs made easy!

Here it is, the solution to all weight-saving hole deburring problems:  3M Scotch-Brite Fine-Finishing Sander.


Mounted in the drill press, it makes deburring the holes as easy as pie.  Already ran it through the main ribs.  Beautiful results.  You can hear the burrs coming off as satisfying audible "ticks".  This will make deburring the leading edge ribs go by so much quicker.


Then I will try 3M Utility Cloth Roll 314D for the little tabs and such.

17 April 2013

Wings: Ribs. Rib deburring 2.

Deburring continues on the ribs.  This is a tedious, repetitive, repetitive, repetitive process.  I've nearly completed all of the trailing edge ribs (as opposed to leading edge ribs).  I have only the little tabs to complete on each one.  That's not an easy task.  So I picked up some 400 grit aluminum oxide cloth to get into those little nooks and crannies.  I also picked up a finishing sander to speed up the weight saving holes on the leading edge ribs.

Main ribs, mostly deburred.

Once I'm done with these ribs, I'll go ahead and knock out the leading edge ribs too.  This way I can prime all ribs at once.

Leading edge ribs, untouched.  That right there is a stack of tedious boring work on deck.

Some things I've learned:
  • Be careful with the hand deburring tool.  If you get overzealous you can skid the blade right off the edge and along the body of the rib. It causes a scratch.  I've marked each scratch so I can go over it with some maroon Scoth-Brite pads to buff them out.
  • If you don't remove a big burr with the cutting wheel, the hand deburring tool will just skip right over it, neither deburring around the big bur, nor removing it.
  • Sometimes the hand deburring tool will picket-fence down the edge causing little bumps.  Seems it's a function of speed and surface profile.
  • The edges are sharp and cut into the cutting wheel.

Looking ahead a bit, these are the flap hinge brackets, W-1025A.  As you can imagine, they're quite thick to bear the requisite loading.  The plans call for straightening them out.  Mine are a little curled.  How on earth one straightens this stuff is beyond me!


I also scanned the plans into a pdf file and ran them through some OCR software.  Now I can study the plans wherever I am.
Mistake #2.  Can you spot the problem?  I can attest that ribs are about $22 each.