Deburring continues on the ribs. This is a tedious, repetitive, repetitive, repetitive process. I've nearly completed all of the trailing edge ribs (as opposed to leading edge ribs). I have only the little tabs to complete on each one. That's not an easy task. So I picked up some 400 grit aluminum oxide cloth to get into those little nooks and crannies. I also picked up a finishing sander to speed up the weight saving holes on the leading edge ribs.
Once I'm done with these ribs, I'll go ahead and knock out the leading edge ribs too. This way I can prime all ribs at once.
Main ribs, mostly deburred.
Once I'm done with these ribs, I'll go ahead and knock out the leading edge ribs too. This way I can prime all ribs at once.
Some things I've learned:
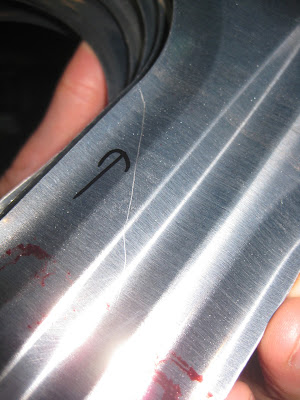
- Be careful with the hand deburring tool. If you get overzealous you can skid the blade right off the edge and along the body of the rib. It causes a scratch. I've marked each scratch so I can go over it with some maroon Scoth-Brite pads to buff them out.
- If you don't remove a big burr with the cutting wheel, the hand deburring tool will just skip right over it, neither deburring around the big bur, nor removing it.
- Sometimes the hand deburring tool will picket-fence down the edge causing little bumps. Seems it's a function of speed and surface profile.
- The edges are sharp and cut into the cutting wheel.
Looking ahead a bit, these are the flap hinge brackets, W-1025A. As you can imagine, they're quite thick to bear the requisite loading. The plans call for straightening them out. Mine are a little curled. How on earth one straightens this stuff is beyond me!
I also scanned the plans into a pdf file and ran them through some OCR software. Now I can study the plans wherever I am.


No comments:
Post a Comment