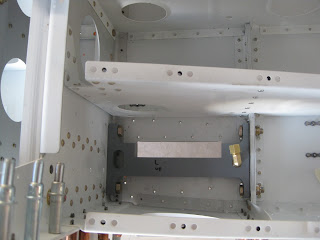
Building resumes some three months following the move to the new house!
Page 29-02 sees the start of the mating of the forward and mid fuse lower structures. This first occurs with a band of clecos running under the bulkheads. This is easy enough to accomplish by one's self, so long as the structure is up on blocks. Next the U-01402 gear braces are bolted in along with the F-01442-L/R lower and F-01464-L/R upper drag fittings. I had a heck of a time getting the left gear brace to fit. In fact, I had to sand the gear brace assembly down to get a good fit. Then it was a good solid hour to get the bolts tightened down (which subsequently get removed and replaced later for rivet access).
Some good #40 match drilling begins of the upper drag fitting to the F-01485-L/R center section side plates. This is later repeated for upsizing to #30.
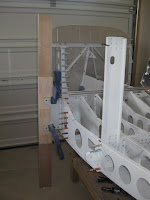
I had a hard time finding the right thickness wood for the support leg. I ended up finding three different boards at Lowe's that, when stacked, gave the right thickness (left). So it was time for a little aerobatics in the shop (right).
After spending an hour-and-a-half pulling -5 Cherry rivets into the lower drag fittings (a process that each ends in what is aptly described as an explosion with the projectile launching of the stem and washer vaulting across the shop) and dealing with the protestations of my forearms, I noticed that I neglected to set a rivet, back in Section 26, attaching the F-01484 center bottom skin to the F-01415-L/R outboard seat ribs (left). Whoops. I sneaked a rivet in underneath (technically on top) of the F-01483-L/R forward bottom skins in (right) and opted to buck them through the skin.
With the generous help of a friend and a ladder, 2.5 hours later, the sections were mated with their associated rivets. The bolts attaching the gear supports and lower drag fittings were decimated during their removal. I'll be replacing them to the tune of $30.
Then it was some 3 hours of getting the control column assembly to rotate with little friction.
After several trials of fitments and sliding washers in (dangling them stuck to masking tape), I had to bend the ears of the control column assembly to straighten them up. The ultimate washer stack ended up being two NAS1149F0363 on the left inboard and single 363 and 332 washers on the left outboard (left). The right side had two 363 washers with a single F-14146A shim (sandwiched between the washer so it won't contact anything) on the outboard side and a single 363 with the same size shim on the inboard side (right). The control column assembly very nicely rotates with no noticeable friction. I'm confident of this as the hours it took to get to this point included fitments with levels of frictions from great to small.


No comments:
Post a Comment