
See here
for why I'm redoing my horizontal stab. I will only post new
information relating to this part of the build. If you're interested in
my documentation on the original stab, see here for all of those posts.
Visit the following for my thoughts on riveting the inspar ribs. And the following for my thoughts on rivet lengths on the inspar caps.
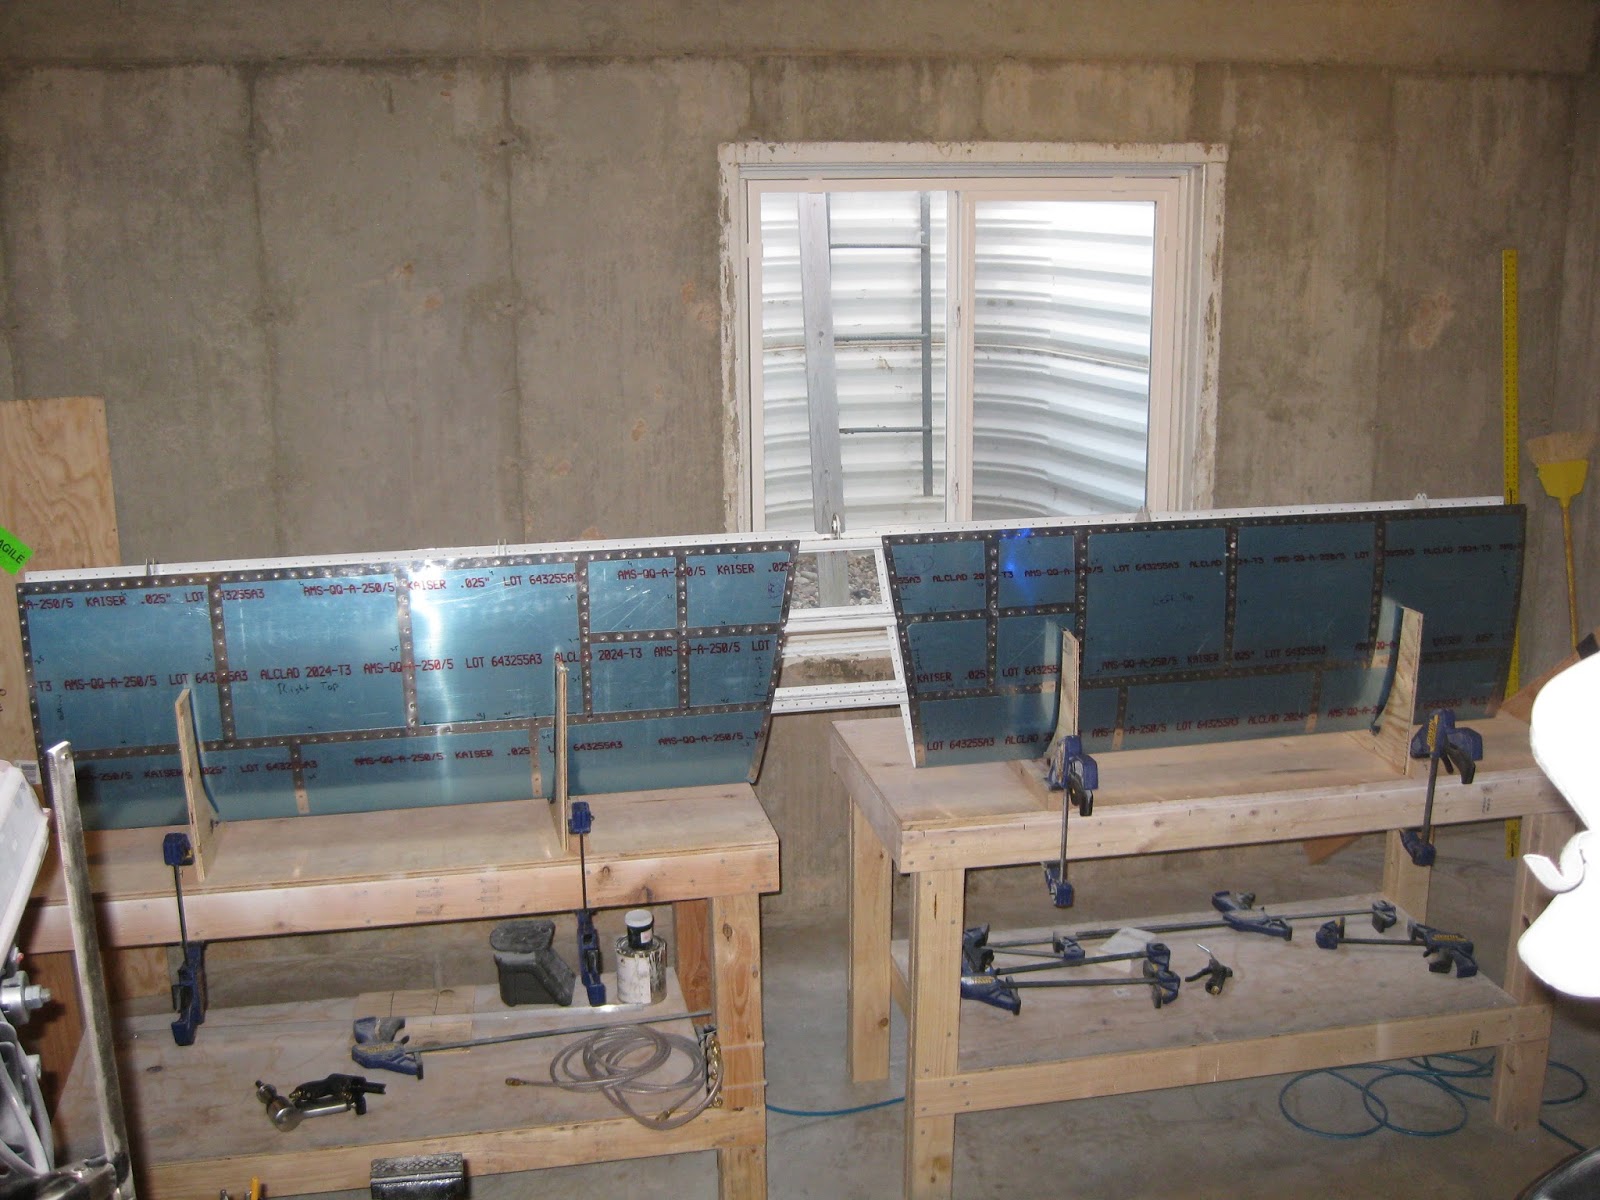
First the nose ribs are riveted in, then they are riveted to the forward spar. Next the skins get riveted to the ribs and inspar stringers. To mitigate alignment issues, every single hole is cleco'd.

I foolishly forgot to countersink the inspar ribs (hey, who needs to
read the plans when this is your second stab?) and didn't realize it
until the inspar assembly had its ribs riveted to the forward spar and after the first stringer rivet was in (I noticed the dimple wasn't sitting properly).
However, we managed to get ourselves out of that jam by drilling out the
inspar web rivets to give access to the inspar strings. Surprisingly, no damage was caused. Just some 4 hours of wasted time.

When the rear spar was placed in the stab assembly, the left outboard side didn't seem to cleco in properly. I tried changing the cleco order a few times to improve it. I finally got it to a reasonable alignment. But then, the left outboard rib's aft flange didn't line up well with the rear spar, however it eventually got coaxed to fit with the help of a pin punch and some light tapping. After all riveting was done, everything lined up just fine. As the riveting progressed, the left outboard alignment improved to essentially perfect.

The outboard ribs' aft flange-to-rear spar rivets are called out as AD4-4. Length -4.5 is more appropriate so I used my rivet cutters to fashion those. Similarly, the plans call for AD4-6 for the inspar ribs-to-rear spar. Length -6.5 is more appropriate. The below picture shows a -7 in the center and two -6.5 length on the sides on the right inboard inspar rib.

.JPG)
Looking down left outboard side.
.JPG)
.JPG)
And completed! 37.18 hours from start-to-finish.


A silly question on this - roughly how many clecos did you need to cleco every hole in the HS? I just ran out of clecos (I had 500) and still have a lot of empty holes, so I'm either missing something obvious or the recommended amount of 500 is not enough :)
ReplyDeleteThanks.
Rodrigo, thanks for reading my blog. Looking at the above pictures, I see I was able to cleco every #40 hole with the rear spar removed for access to the interior rivets. Let's find out how.
DeleteI count 714 total on the skins (looking at the holes on page 8-08). There are 192 holes for the rear spar that you don't need to cleco until the skins are riveted to the ribs. So, that leaves you needing 522. Now, I didn't cleco everything when riveting the nose rivets to give myself better access. So once they are done and everything is finally cleco'd, that reduces the need by 40 more clecos. That brings you to needing 482, which is less than 500!